五、其他外设
1. UART接口
1.1使用 cutecom 操作UART
cutecom 是一个跨平台的串口终端程序,它提供了一个简洁直观的图形用户界面,允许用户通过串口接口发送和接收数据。运行以下命令以安装 cutecom
sudo apt install cutecom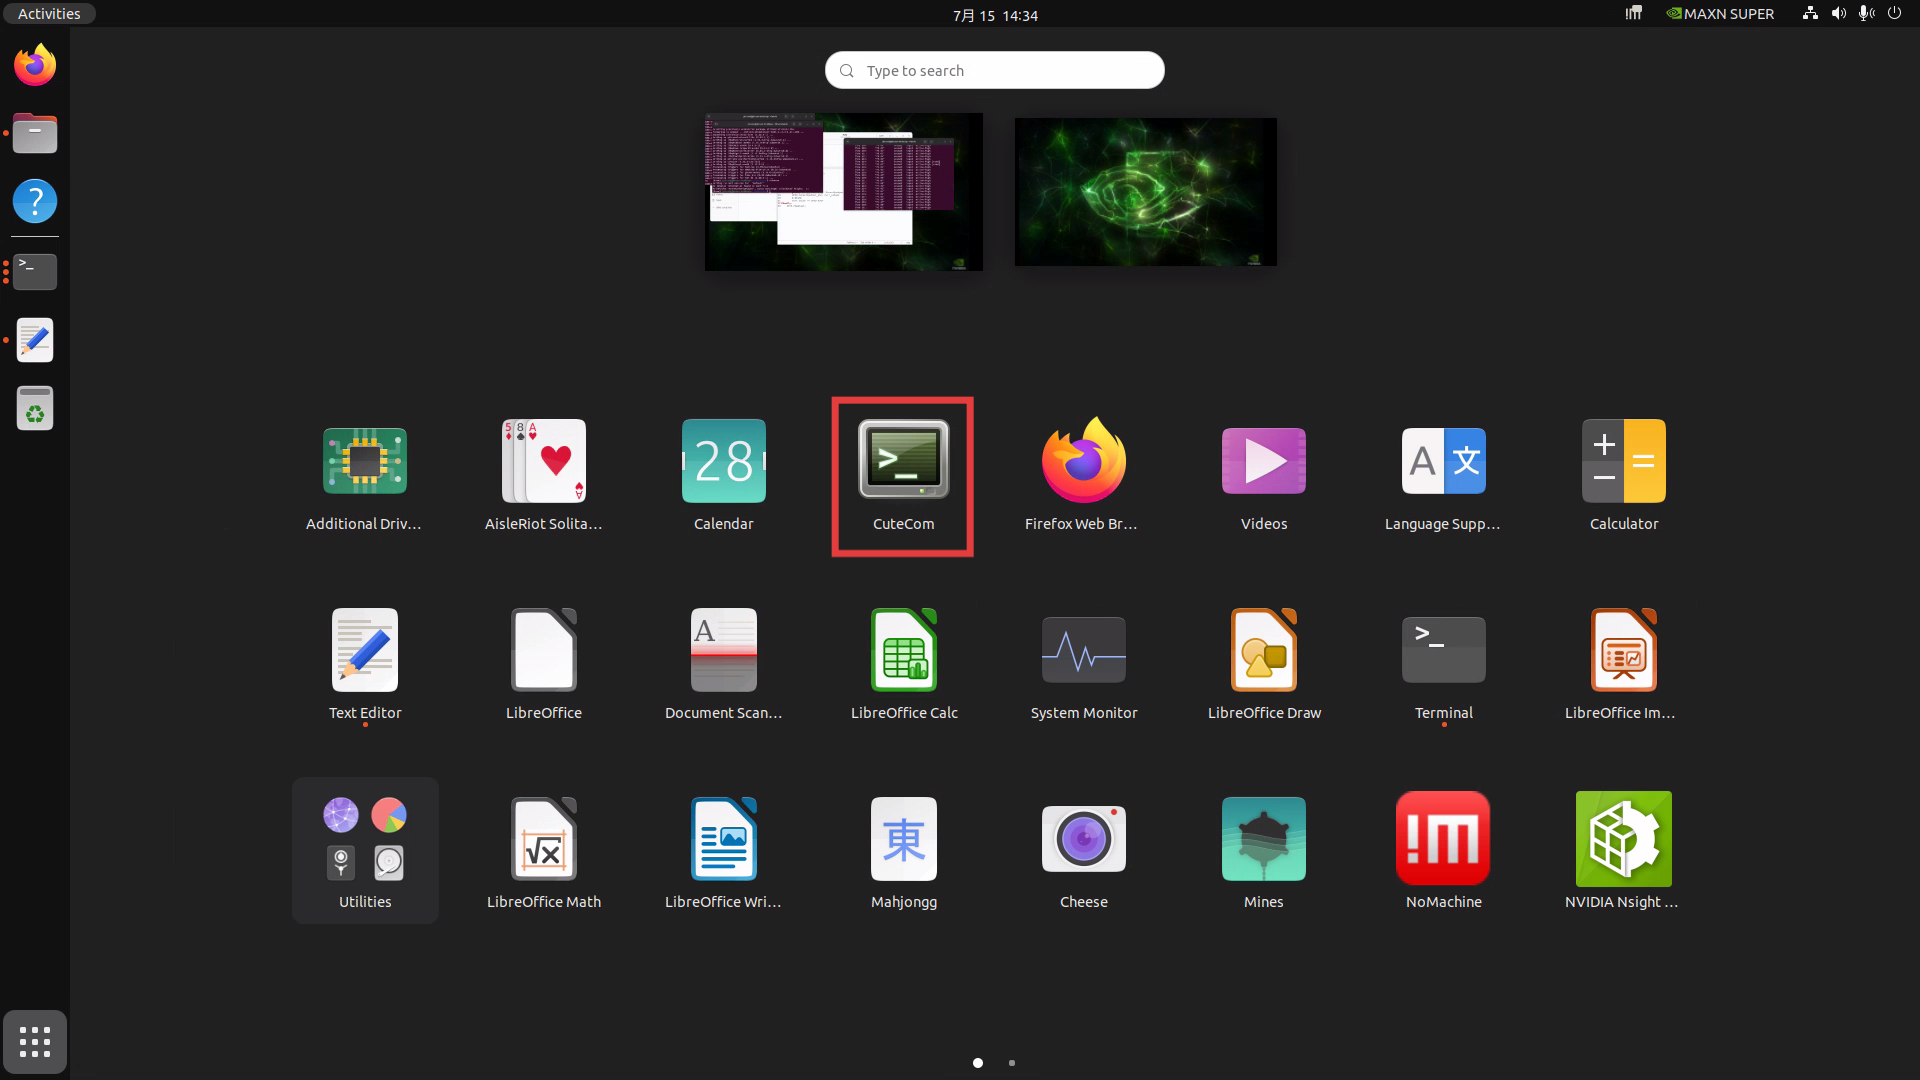
官方默认开启的UART接口为 ttyTHS1 即 40pin GPIO中的 pin8 (TX) 和 pin10( RX) 引脚。
- 使用一根条线短接8和10引脚
- 更改串口权限
sudo chmod 777 /dev/ttyTHS1- 打开 cutecom,选择 ttyTHS1 并打开。
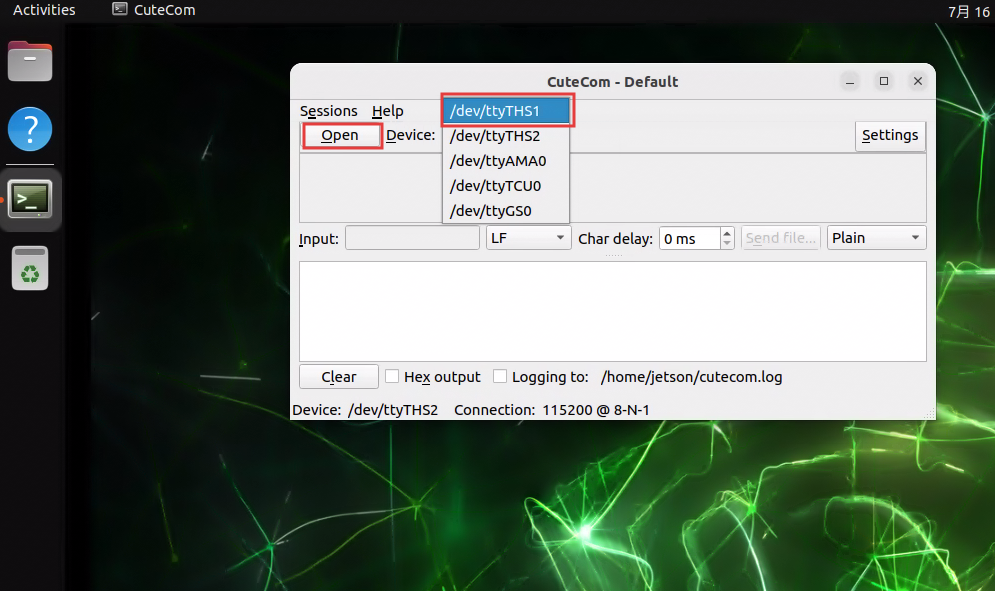
- 输入文本并回车,可以看到下方接收区显示有内容。

1.2 使用 python 操作 UART
- 安装pyserial库
pip install pyserial- 运行以下脚本进行测试
import serial
import time


PORT = "/dev/ttyTHS1"
BAUDRATE = 115200
ENCODING = "UTF-8"
MESSAGE = "hello,jetson\r\n"


try:
    with serial.Serial(PORT, BAUDRATE, timeout=2) as se:
        print(f"Serial port {PORT} opened: {se.is_open}")
        while True:
            se.write(MESSAGE.encode(ENCODING))
            print(f"Sent: {MESSAGE.strip()}")
            try:
                line = se.readline().decode(ENCODING).strip()
                if line:
                    print(f"Received: {line}")
            except Exception as e:
                print(f"Read error: {e}")
            time.sleep(1)
except serial.SerialException as e:
    print(f"Serial error: {e}")
except KeyboardInterrupt:
    print("\nExit by user.")
2. SPI接口
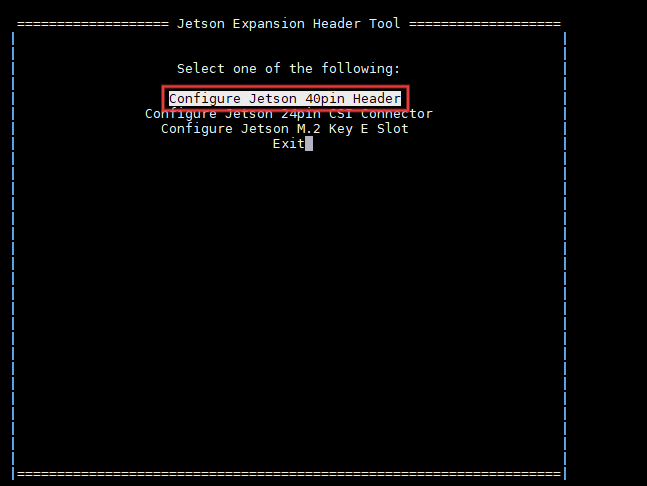
- 执行以下命令进入Jetson的引脚配置界面
sudo /opt/nvidia/jetson-io/jetson-io.py- 选择配置40pin拓展引脚
- 选择手动配置
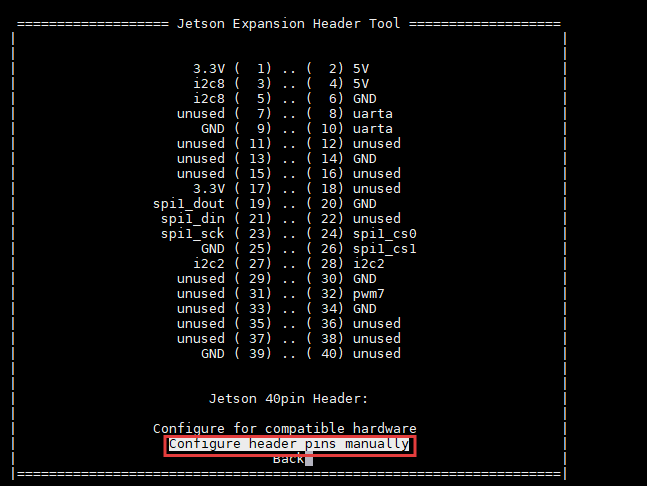
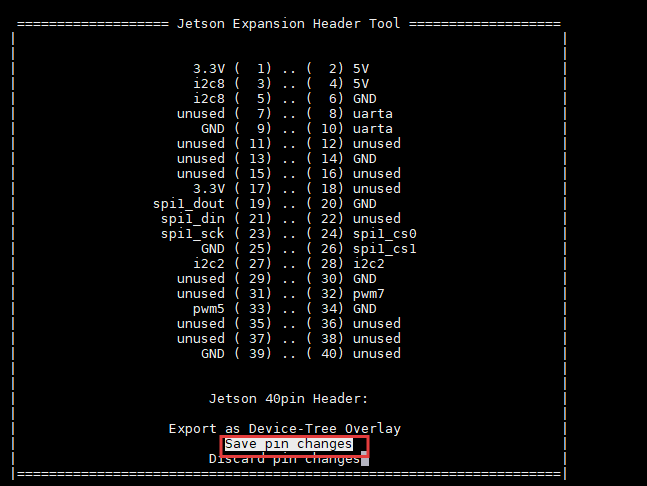
- 光标移动到spi1按下空格选中

- 保存更改
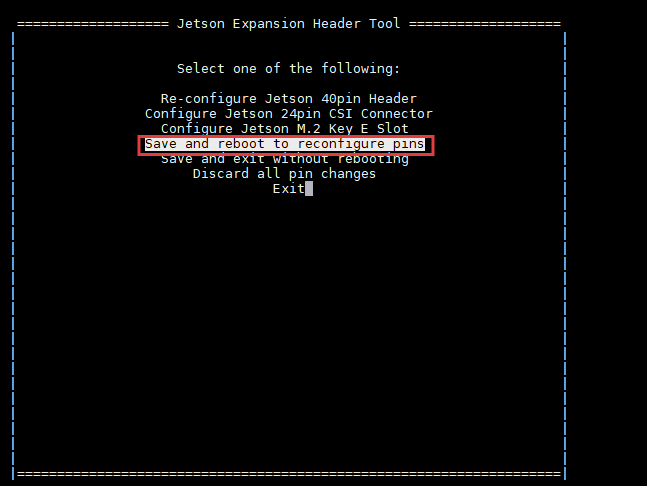
- 保存并重启以重新配置引脚
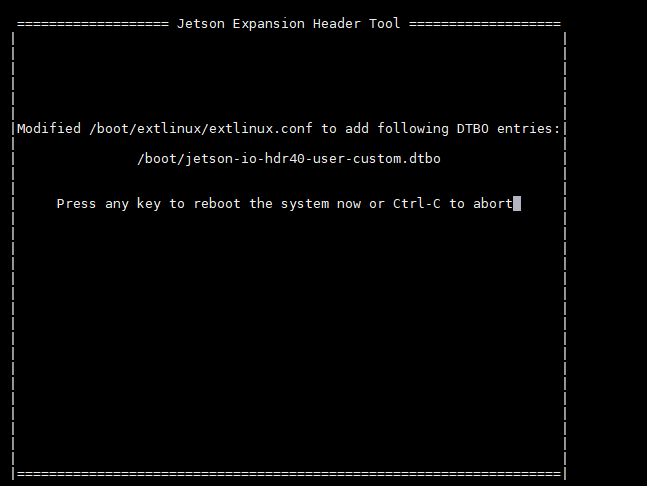
- 按下回车键确认重启
3. I2C接口
- 安装i2c工具
sudo apt install i2c-tools- 查看开发板可用的i2c的总线:
jetson@jetson-desktop:~$ i2cdetect -l
i2c-0    i2c           3160000.i2c                         I2C adapter
i2c-1    i2c           c240000.i2c                         I2C adapter
i2c-2    i2c           3180000.i2c                         I2C adapter
i2c-4    i2c           Tegra BPMP I2C adapter              I2C adapter
i2c-5    i2c           31b0000.i2c                         I2C adapter
i2c-7    i2c           c250000.i2c                         I2C adapter
i2c-9 i2c NVIDIA SOC i2c adapter 0 I2C adapter- 查看连接到对应总线的i2c设备:
jetson@jetson-desktop:~$ i2cdetect -y -r -a 7
     0  1  2  3  4  5  6  7  8  9  a  b  c  d  e  f
00: 00 -- -- -- -- -- -- -- -- -- -- -- -- -- -- --
10: -- -- -- -- -- -- -- -- -- -- -- -- -- -- -- --
20: -- -- -- -- -- -- -- -- -- -- -- -- -- -- -- --
30: -- -- -- -- -- -- -- -- -- -- -- -- -- -- -- --
40: -- -- -- -- -- -- -- -- -- -- -- -- -- -- -- --
50: -- -- -- -- -- -- -- -- -- -- -- -- -- -- -- --
60: -- -- -- -- -- -- -- -- -- -- -- -- -- -- -- --
70: -- -- -- -- -- -- -- -- -- -- -- -- -- -- -- -- - 正确接入i2c设备后:
i2cdetect -y -r -a 7
     0  1  2  3  4  5  6  7  8  9  a  b  c  d  e  f
00: -- -- -- -- -- -- -- -- -- -- -- -- -- -- -- --
10: -- -- -- -- -- -- -- -- -- -- -- -- -- -- -- --
20: -- -- -- -- -- -- -- -- -- -- -- -- -- -- -- --
30: -- -- -- -- -- -- -- -- -- -- -- -- 3c -- -- --
40: -- -- -- -- -- -- -- -- -- -- -- -- -- -- -- --
50: -- -- -- -- -- -- -- -- -- -- -- -- -- -- -- --
60: -- -- -- -- -- -- -- -- -- -- -- -- -- -- -- --
70: -- -- -- -- -- -- -- -- -- -- -- -- -- -- -- --
4. RTC接口
官方套件不支持RTC功能