
Camera
After connecting a camera, you can use the following command to view the device numbers of the available cameras:
ls /dev/video*
# /dev/video0  /dev/video1
1. CSI Camera
Avoid hot-plugging whenever possible. When connecting a CSI camera, make sure the metal contacts of the FPC cable face down.
1.1 Opening the Camera with gst-launch
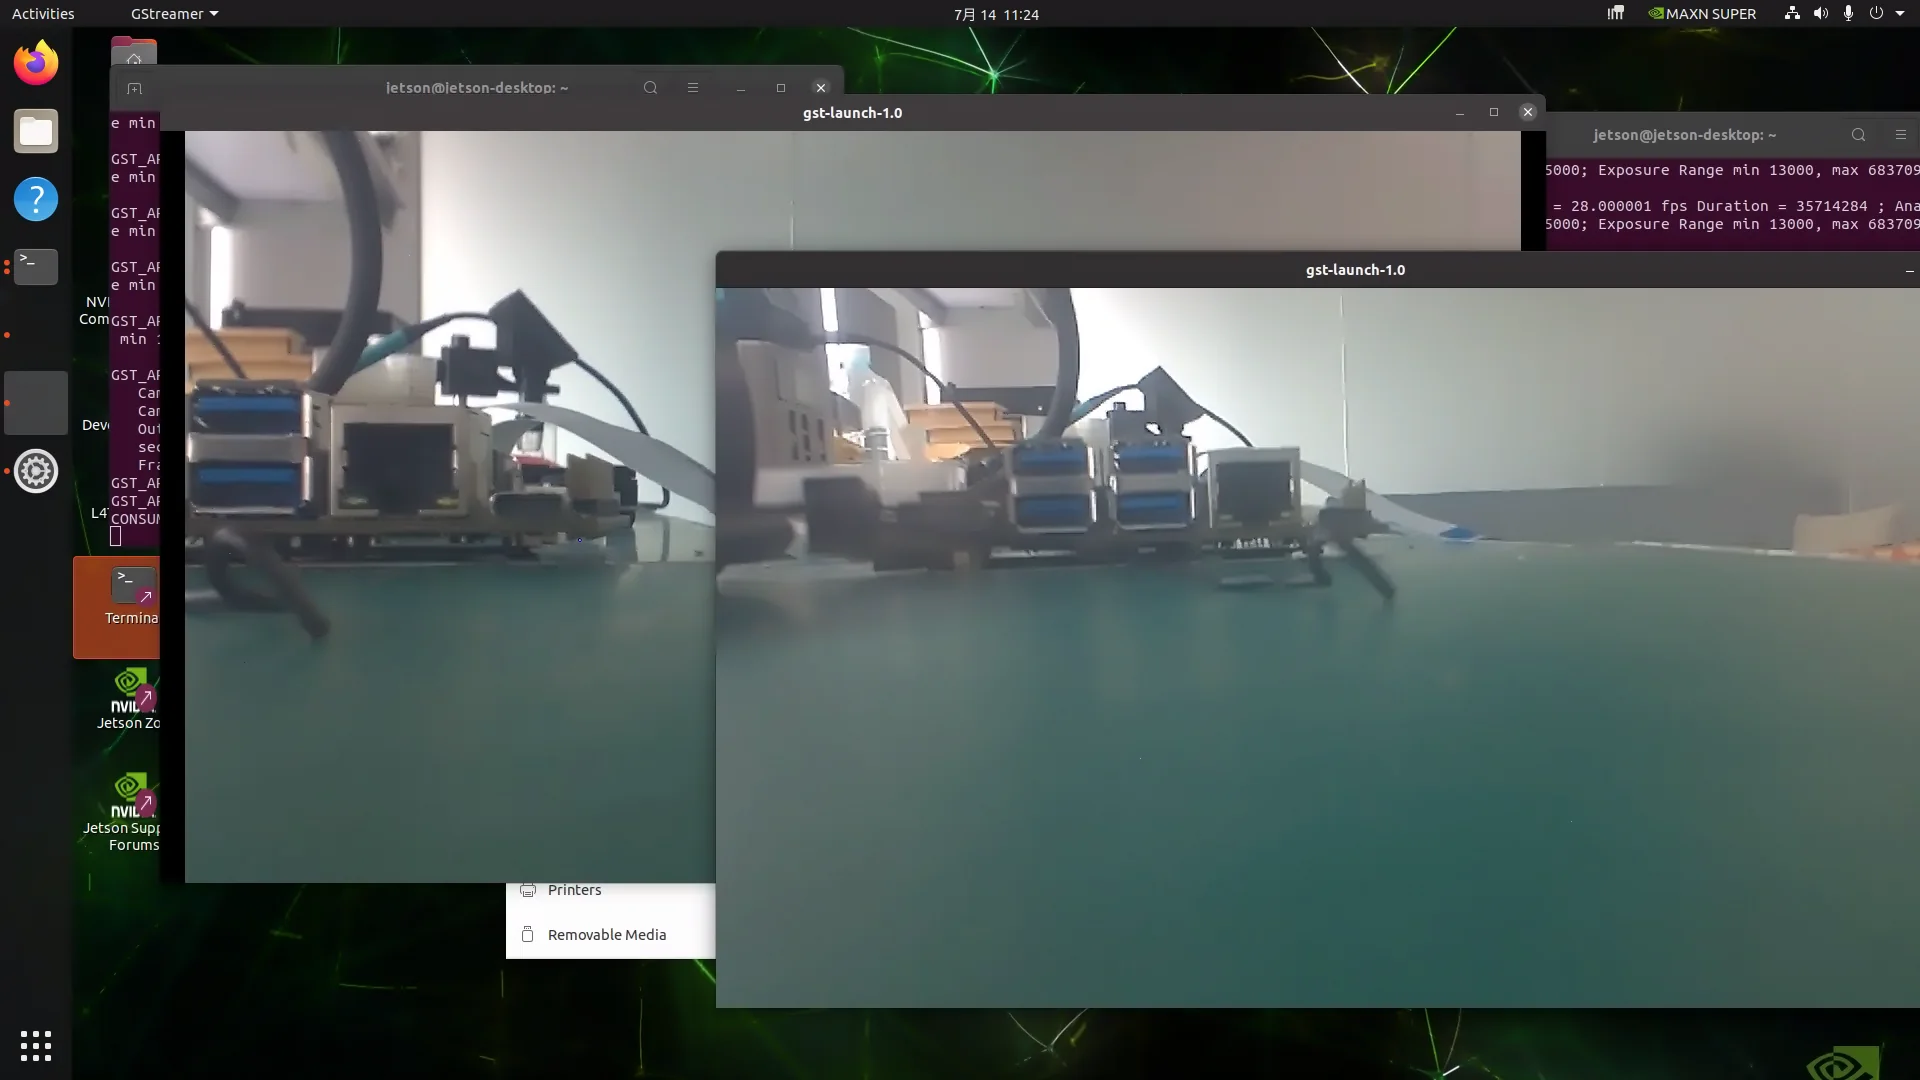
After confirming the CSI camera is connected correctly, run the following commands in two separate terminal windows to open the cameras:
# Camera 0
gst-launch-1.0 nvarguscamerasrc sensor-id=0 ! "video/x-raw(memory:NVMM), width=(int)1920, height=(int)1080,format=(string)NV12, framerate=(fraction)30/1" ! nvvidconv ! xvimagesink sync=false

# Camera 1 (run in another terminal window)
gst-launch-1.0 nvarguscamerasrc sensor-id=1 ! "video/x-raw(memory:NVMM), width=(int)1920, height=(int)1080,format=(string)NV12, framerate=(fraction)30/1" ! nvvidconv ! xvimagesink sync=false
Parameter description:
| Parameter | Description |
|---|---|
sensor-id | Specifies the camera's physical interface ID; use 0 and 1 for dual cameras |
memory:NVMM | Uses NVIDIA GPU memory to reduce latency |
width, height | Resolution, must be supported by the hardware (e.g. 1080p) |
format:NV12 | Pixel format, natively supported by NVIDIA encoders |
framerate | Frame rate, e.g. 30/1 (30 FPS) |
sync=false | Disables audio/video synchronization to reduce latency |
2. USB Camera
Using Cheese
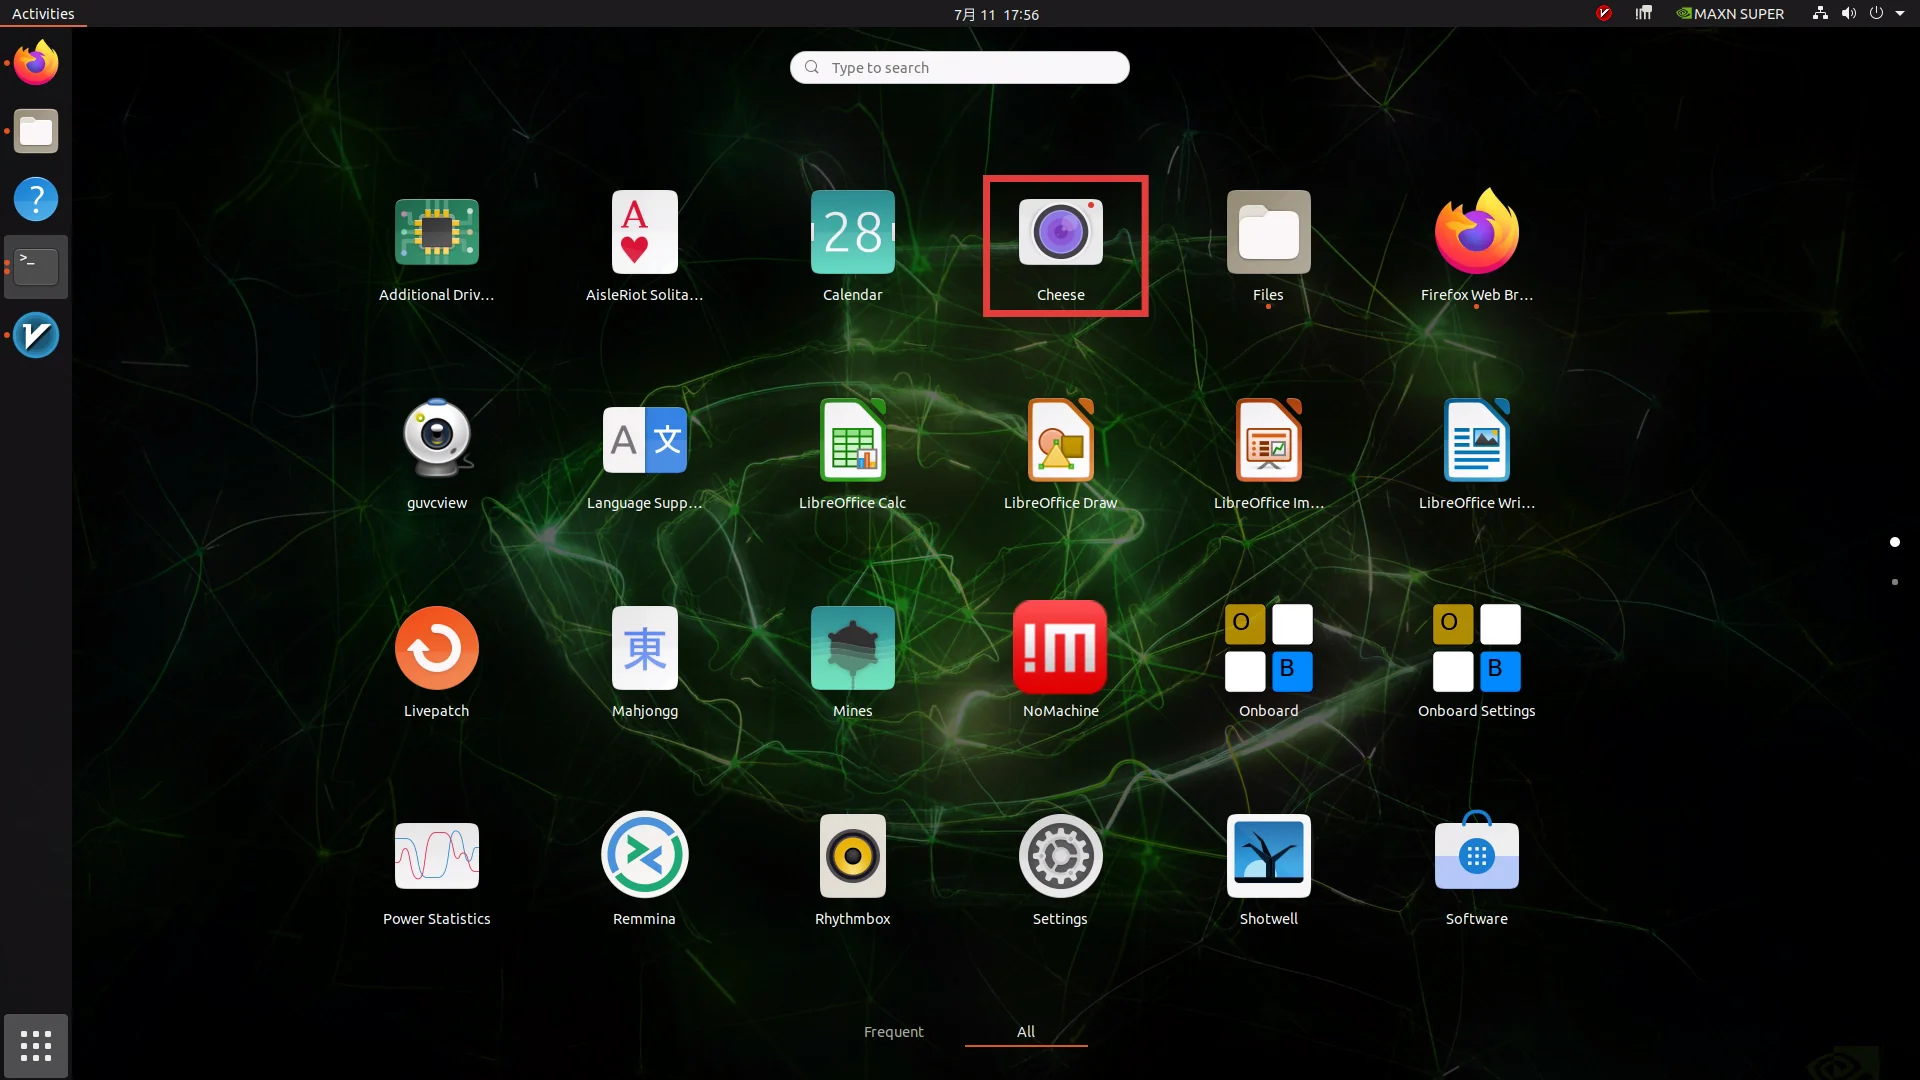
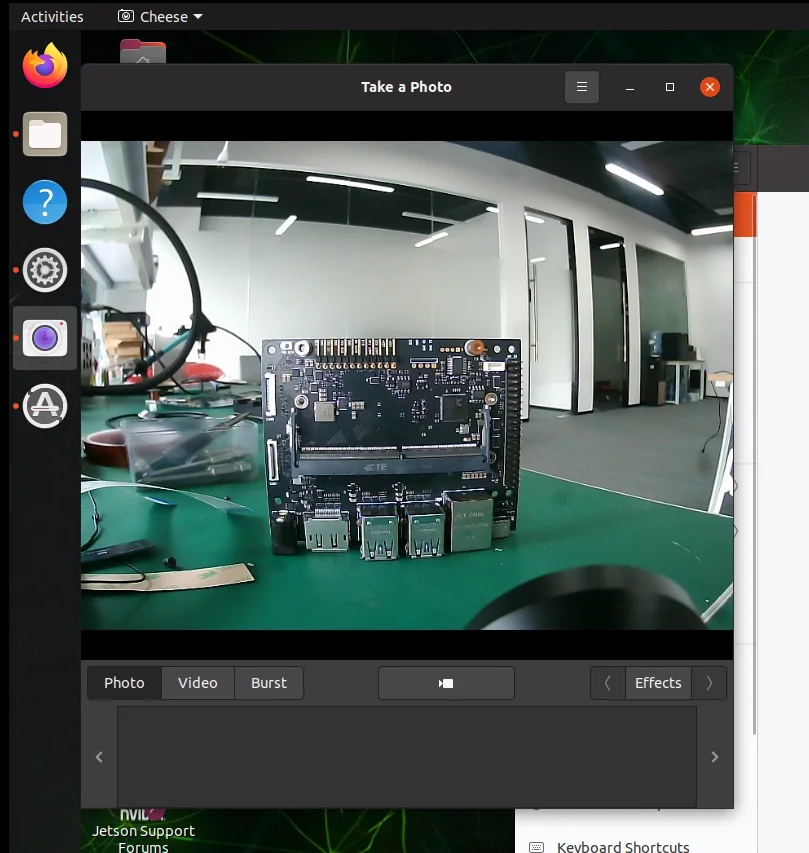
Cheese is a simple and easy-to-use camera application that supports taking photos, recording videos, and burst shooting:
sudo apt install cheeseConnect the USB camera to a USB port on the board, then open the Cheese application to use it.
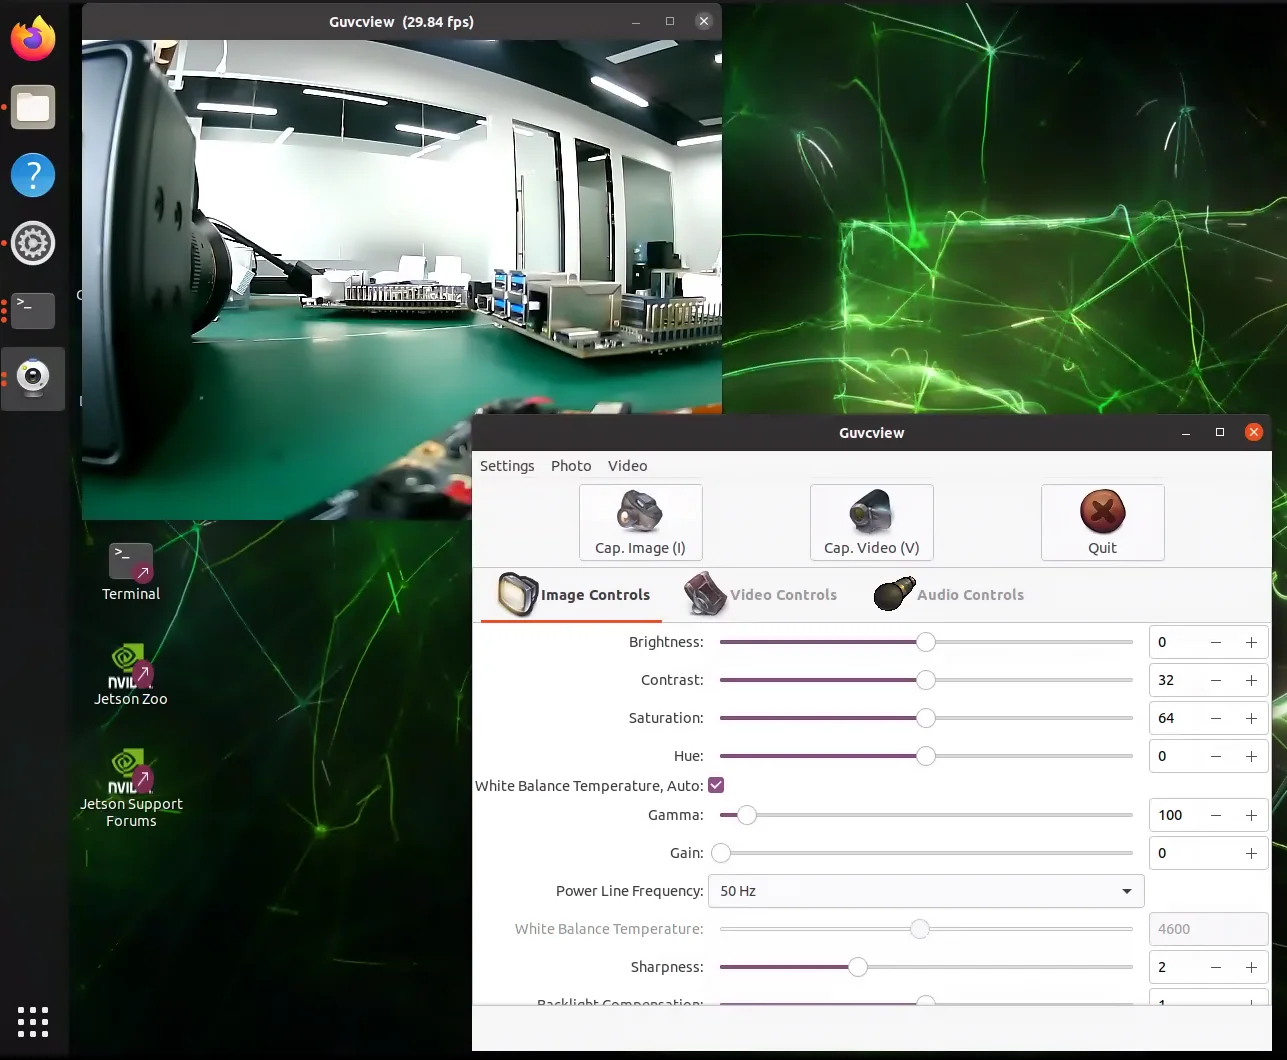
Using Guvcview
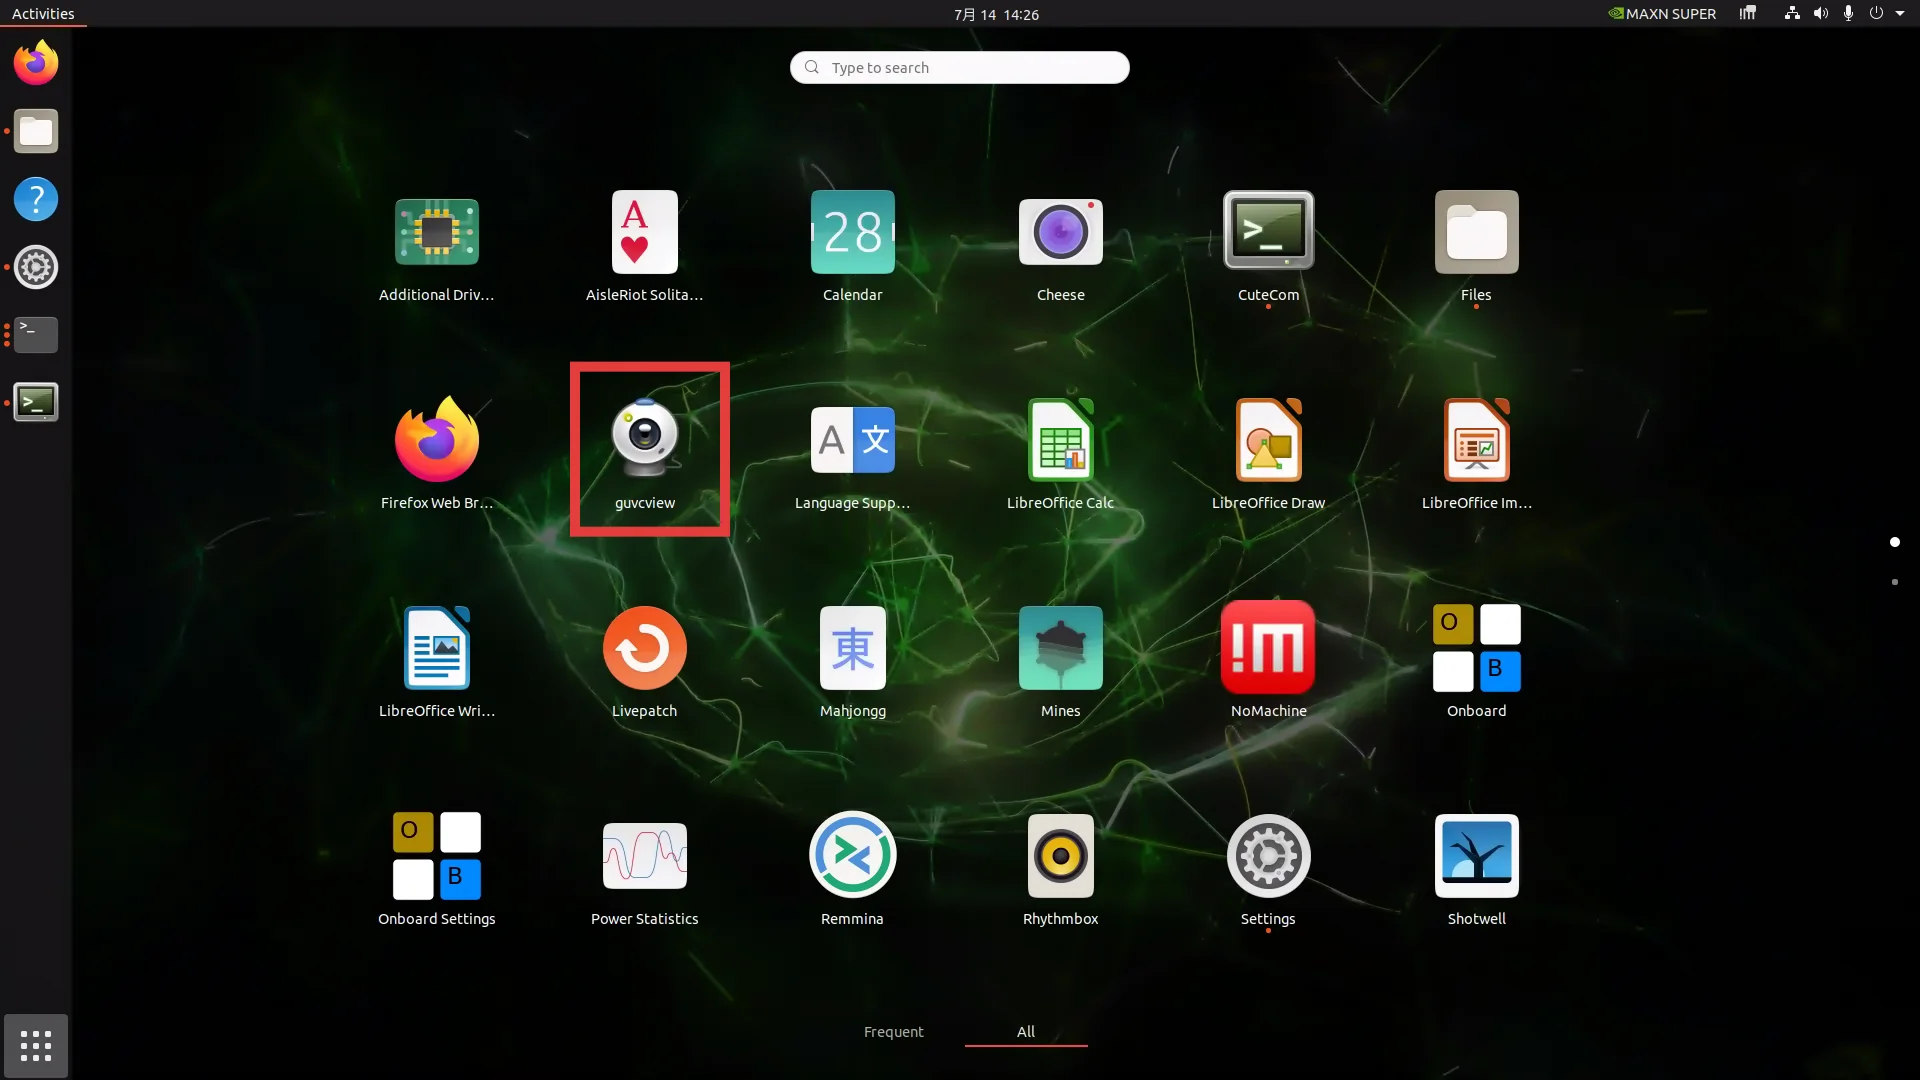
Guvcview is an open-source camera tool with a graphical interface:
sudo apt install guvcviewUsing nvgstcapture
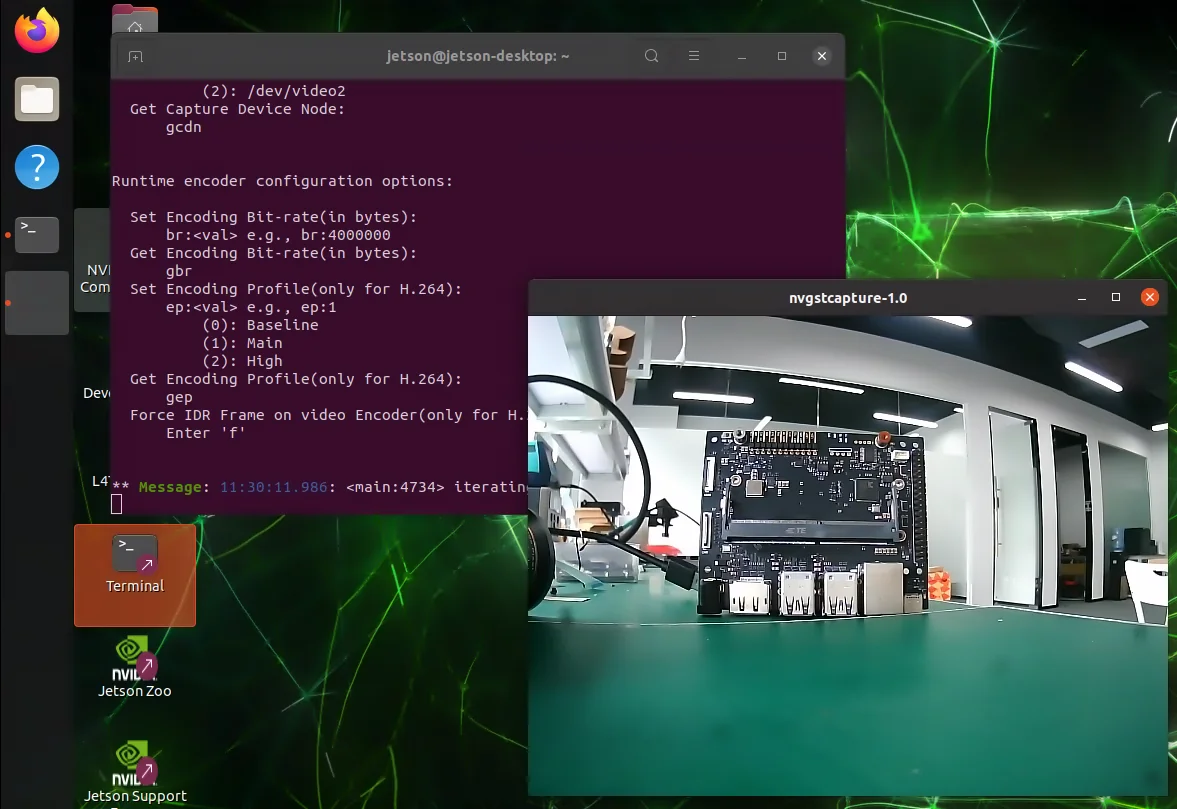
You can also use nvgstcapture to open a USB camera:
# V4L2 USB camera(replace <N> with the /dev/videoN node)
sudo nvgstcapture --cap-dev-node 2   # 0,1 default to CSI cameras
For more detailed documentation, see NVIDIA Developer