
Flashing Tutorial
1. Install an Ubuntu Virtual Machine
See Install Ubuntu Virtual Machine and SDK Manager for details.
1.1 Download VMware Workstation
Baidu Netdisk: VMware-workstation-full-16.2.5-20904516.exe Link: https://pan.baidu.com/s/1xopblFgG29dYZXoNfwa5ZA Extraction code: frjy
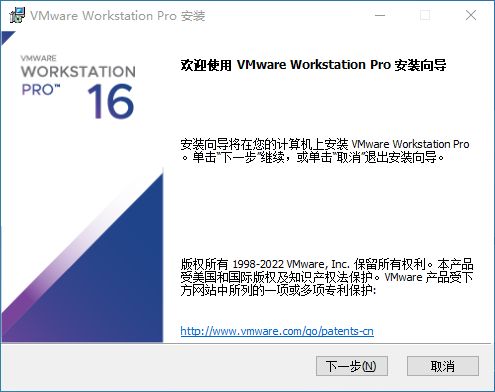
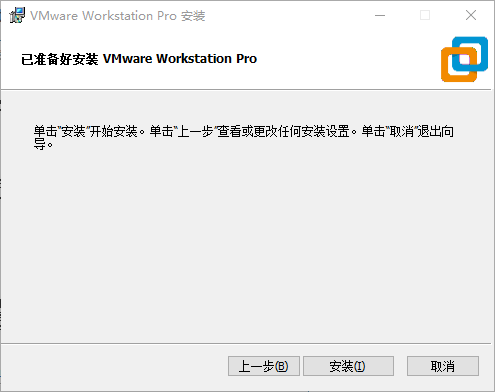
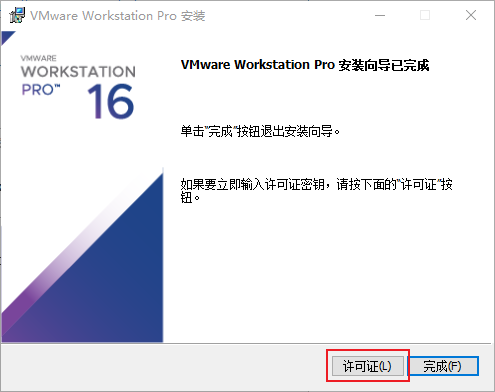
1.2 Install VMware
Keep the default options and enter the activation code (search online for: vmware16 key).
1.3 Install Ubuntu
Version 20.04 or 22.04 is recommended. Download ubuntu20.04_desktop_amd64.iso; if the download is slow, it is recommended to use the Tsinghua mirror or the USTC mirror.
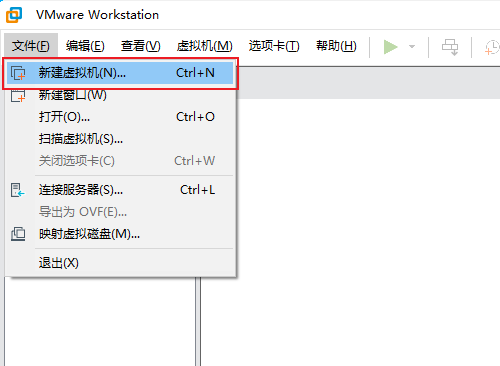
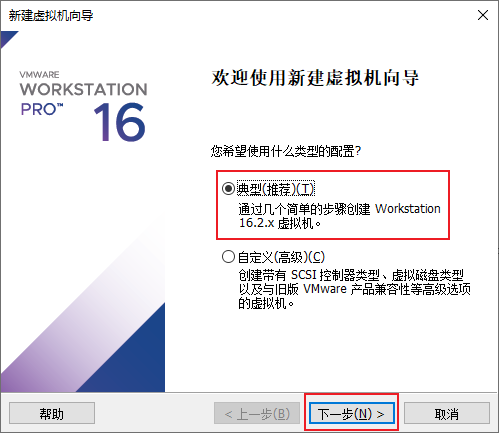
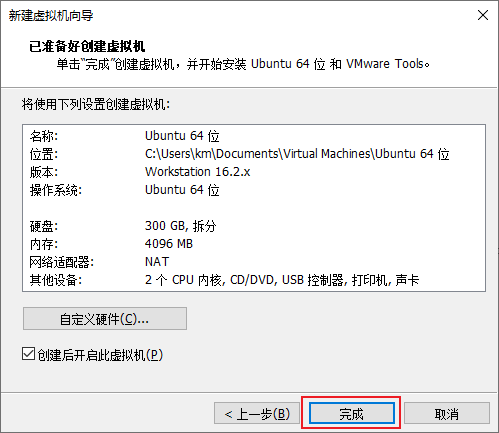
- Open VMware → New Virtual Machine → Typical configuration
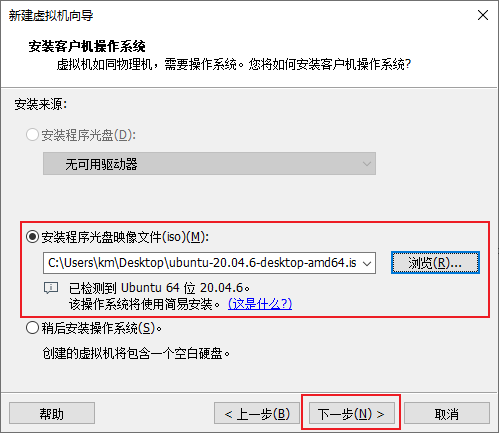
- Select the downloaded ISO image
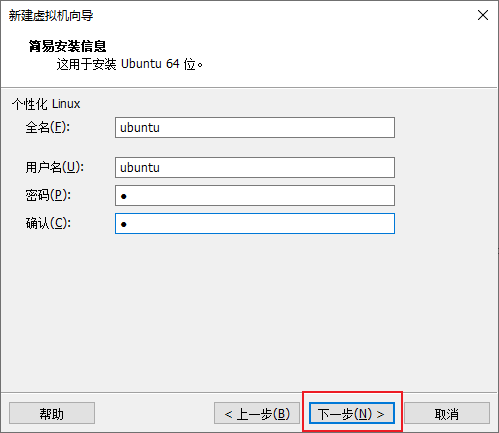
- Enter a username and password
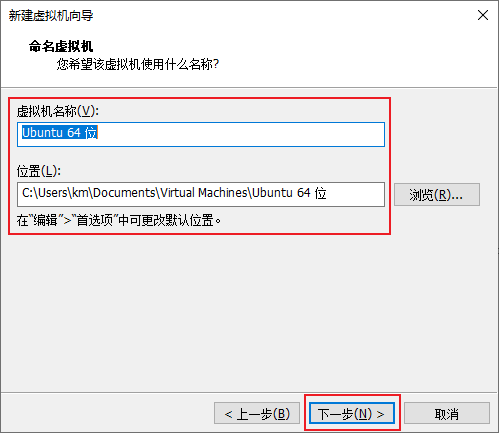
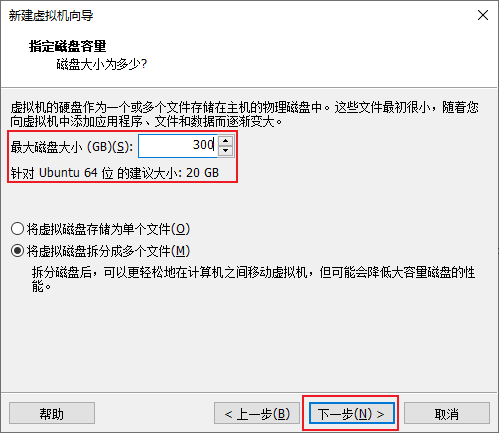
- Choose a storage location; at least 300 GB of storage space is recommended
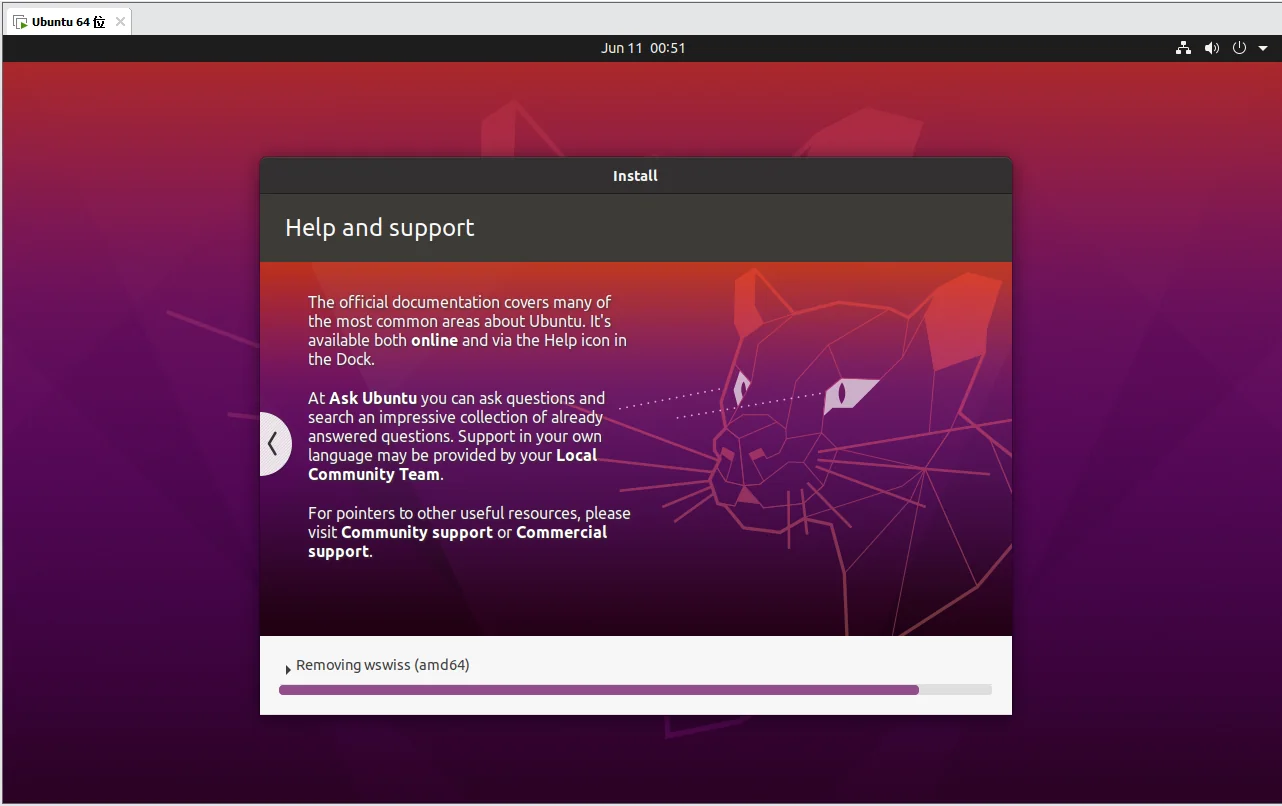
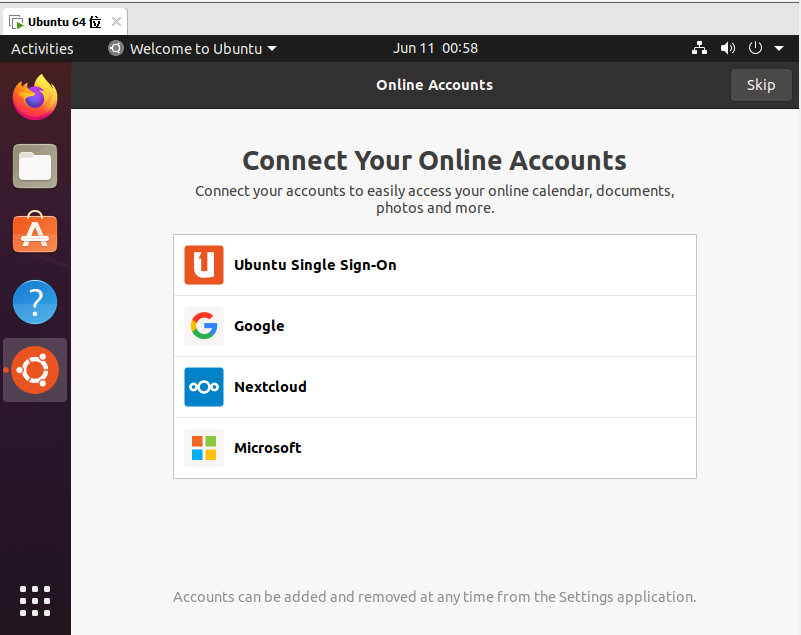
- Wait for the installation to complete
2. Install NVIDIA SDK Manager
2.1 Download the Installer
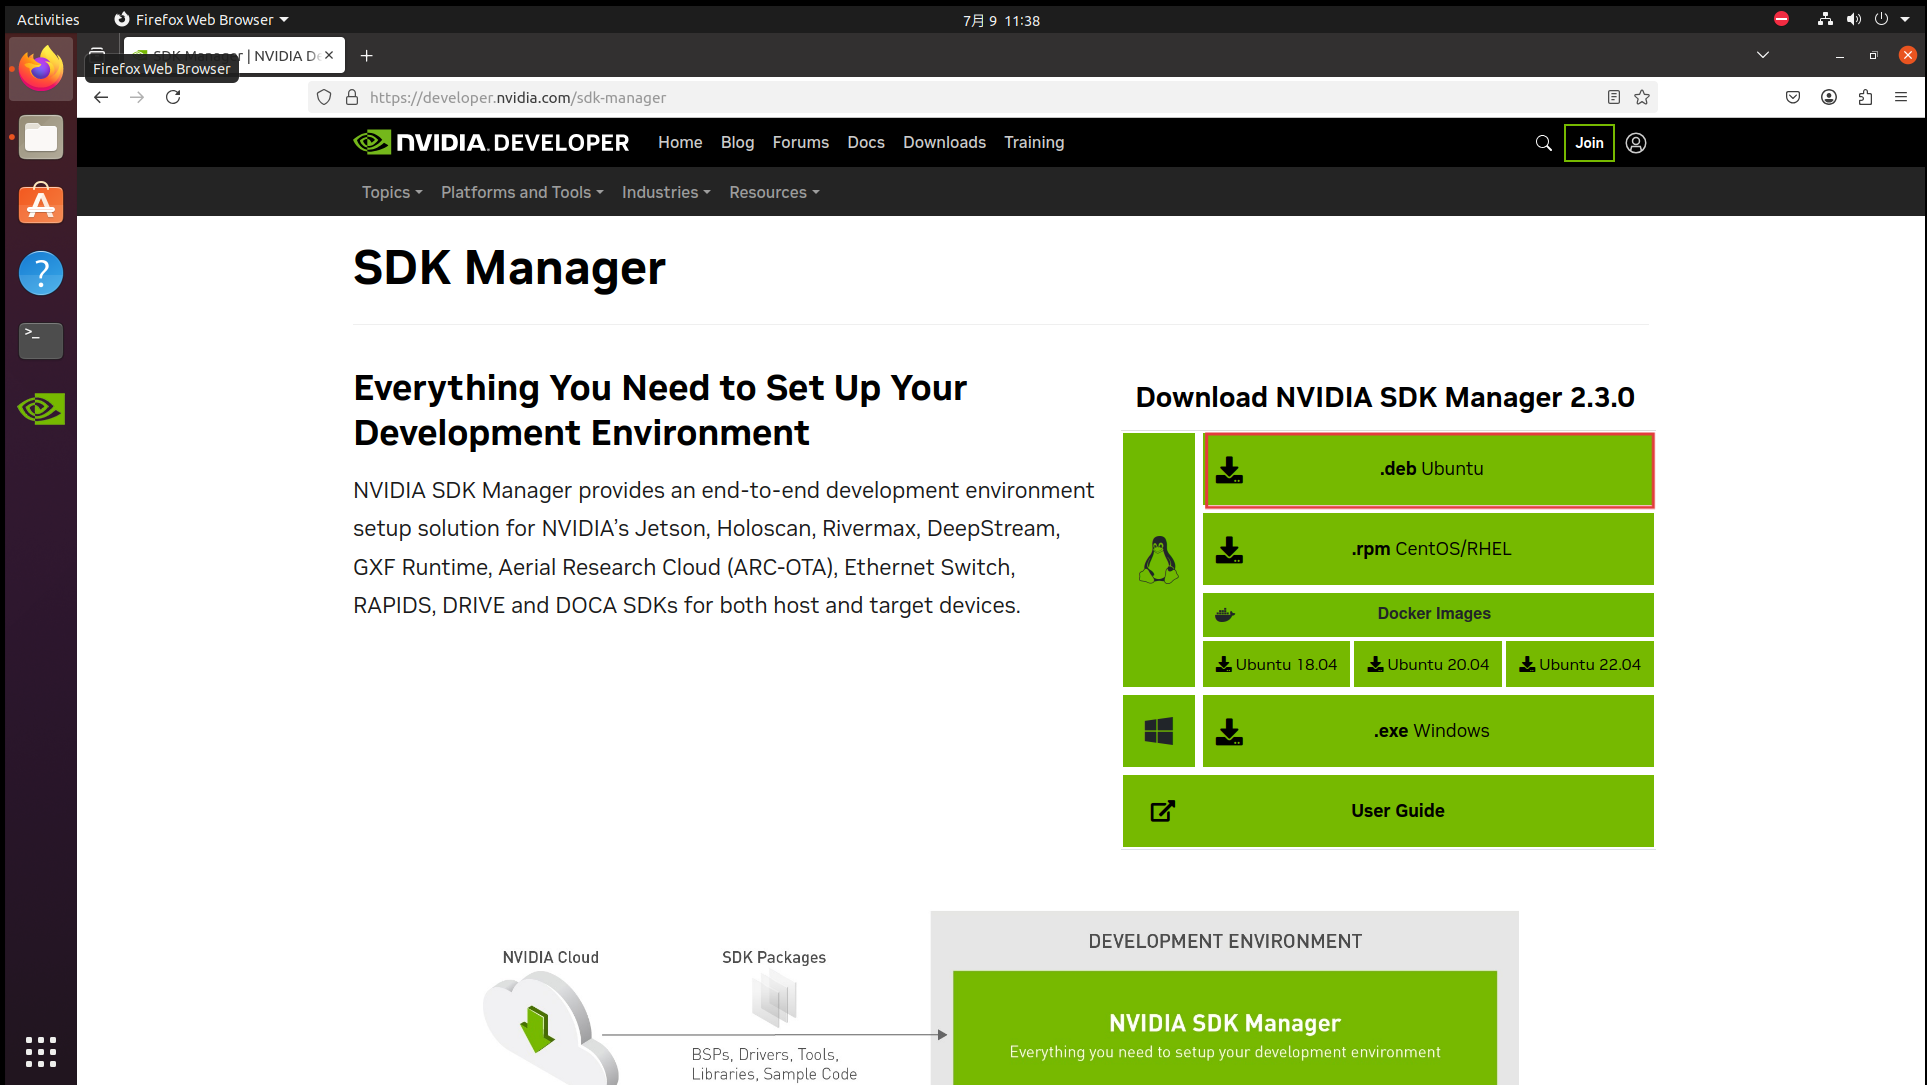
Open the browser inside the virtual machine, visit Jetson SDK, and download the .deb Ubuntu installer.
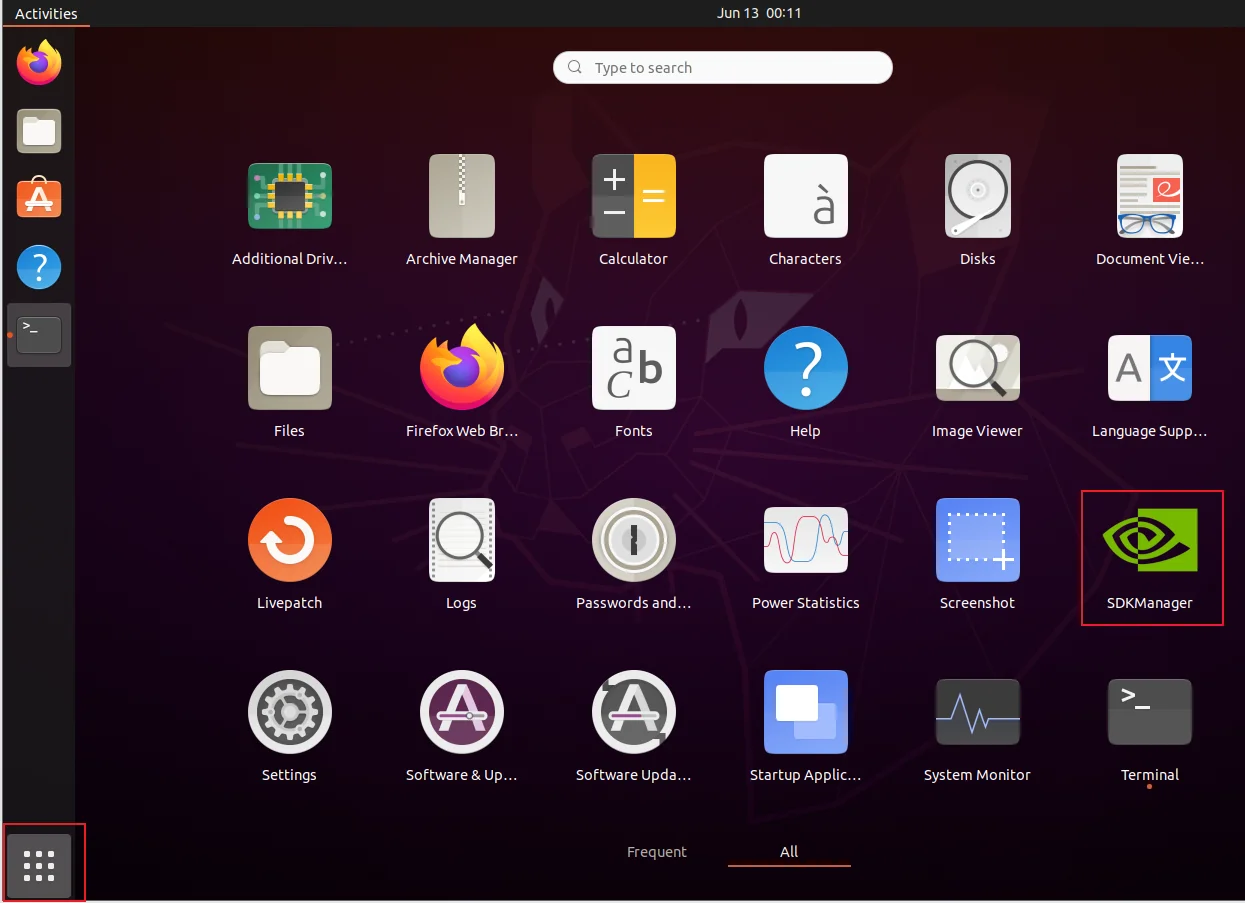
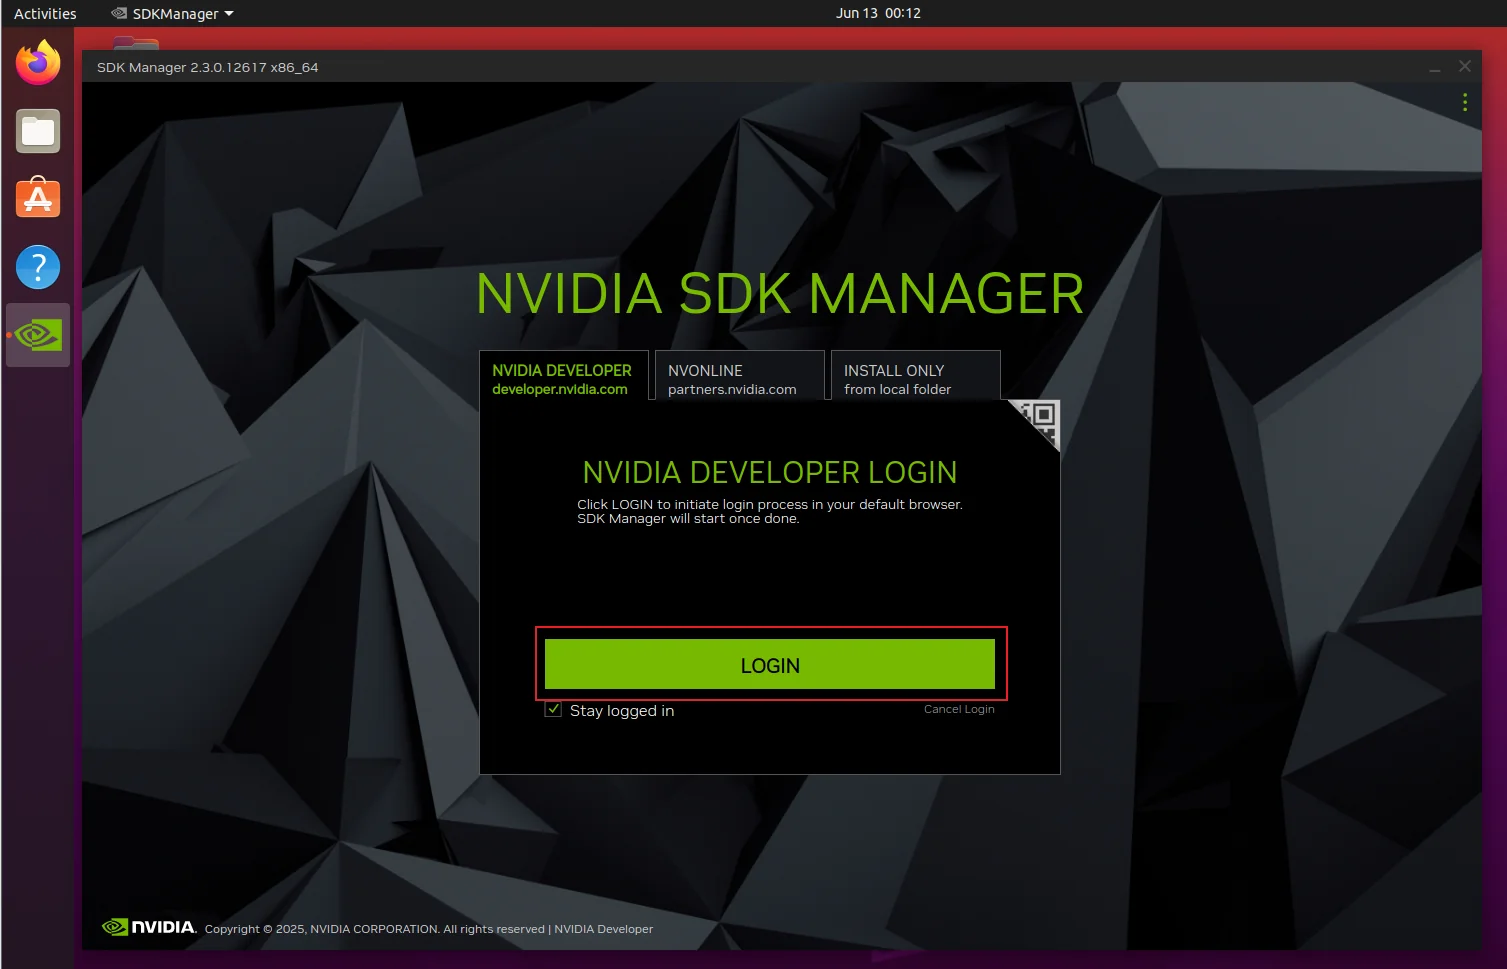
2.2 Install SDK Manager
sudo apt update
sudo dpkg -i sdkmanager_2.3.0-12617_amd64.deb  # adjust the package name to the actual version
sudo apt install --fix-broken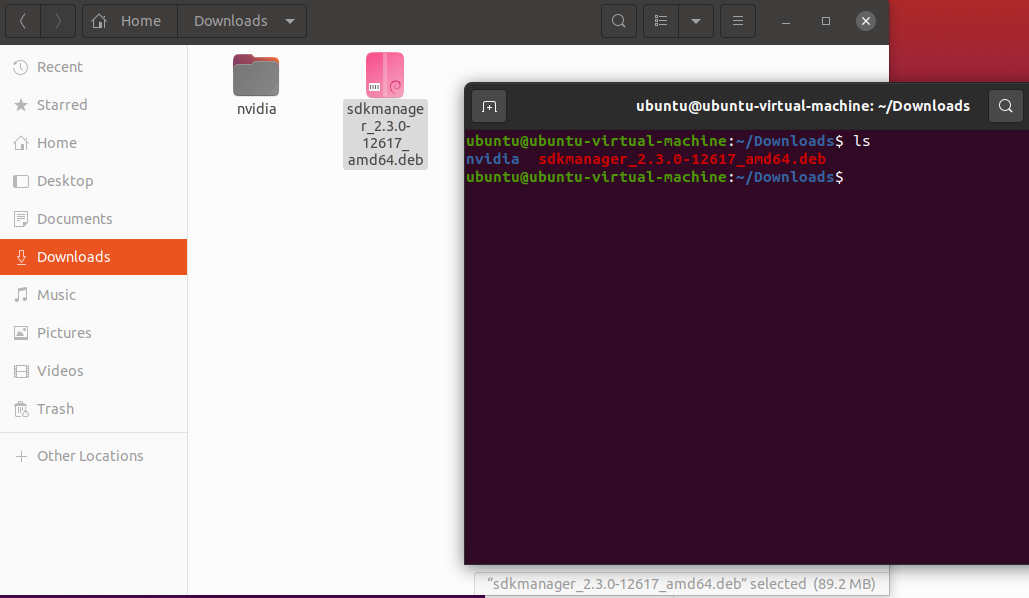
3. Flashing with NVIDIA SDK Manager
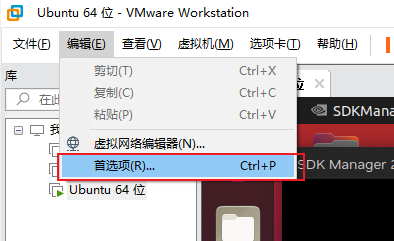
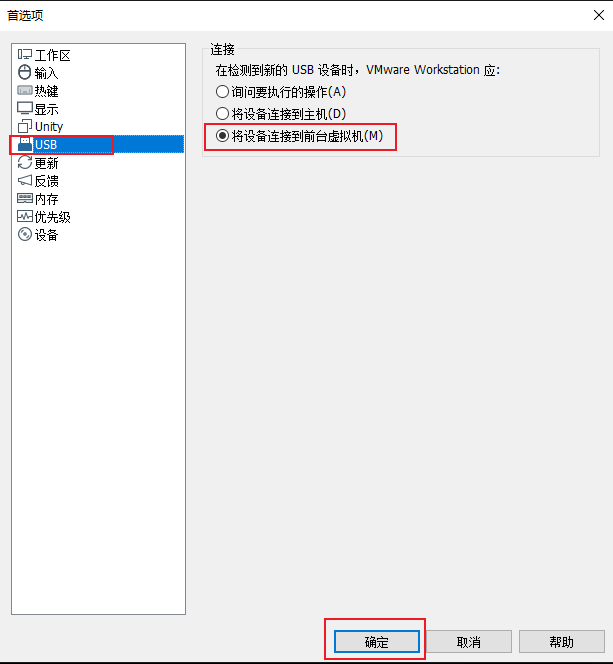
3.1 Set the VMware USB Mode
Set the USB connection mode to "Connect the device to the foreground virtual machine" to avoid flashing failure caused by the board rebooting midway.
3.2 Enter Recovery Mode
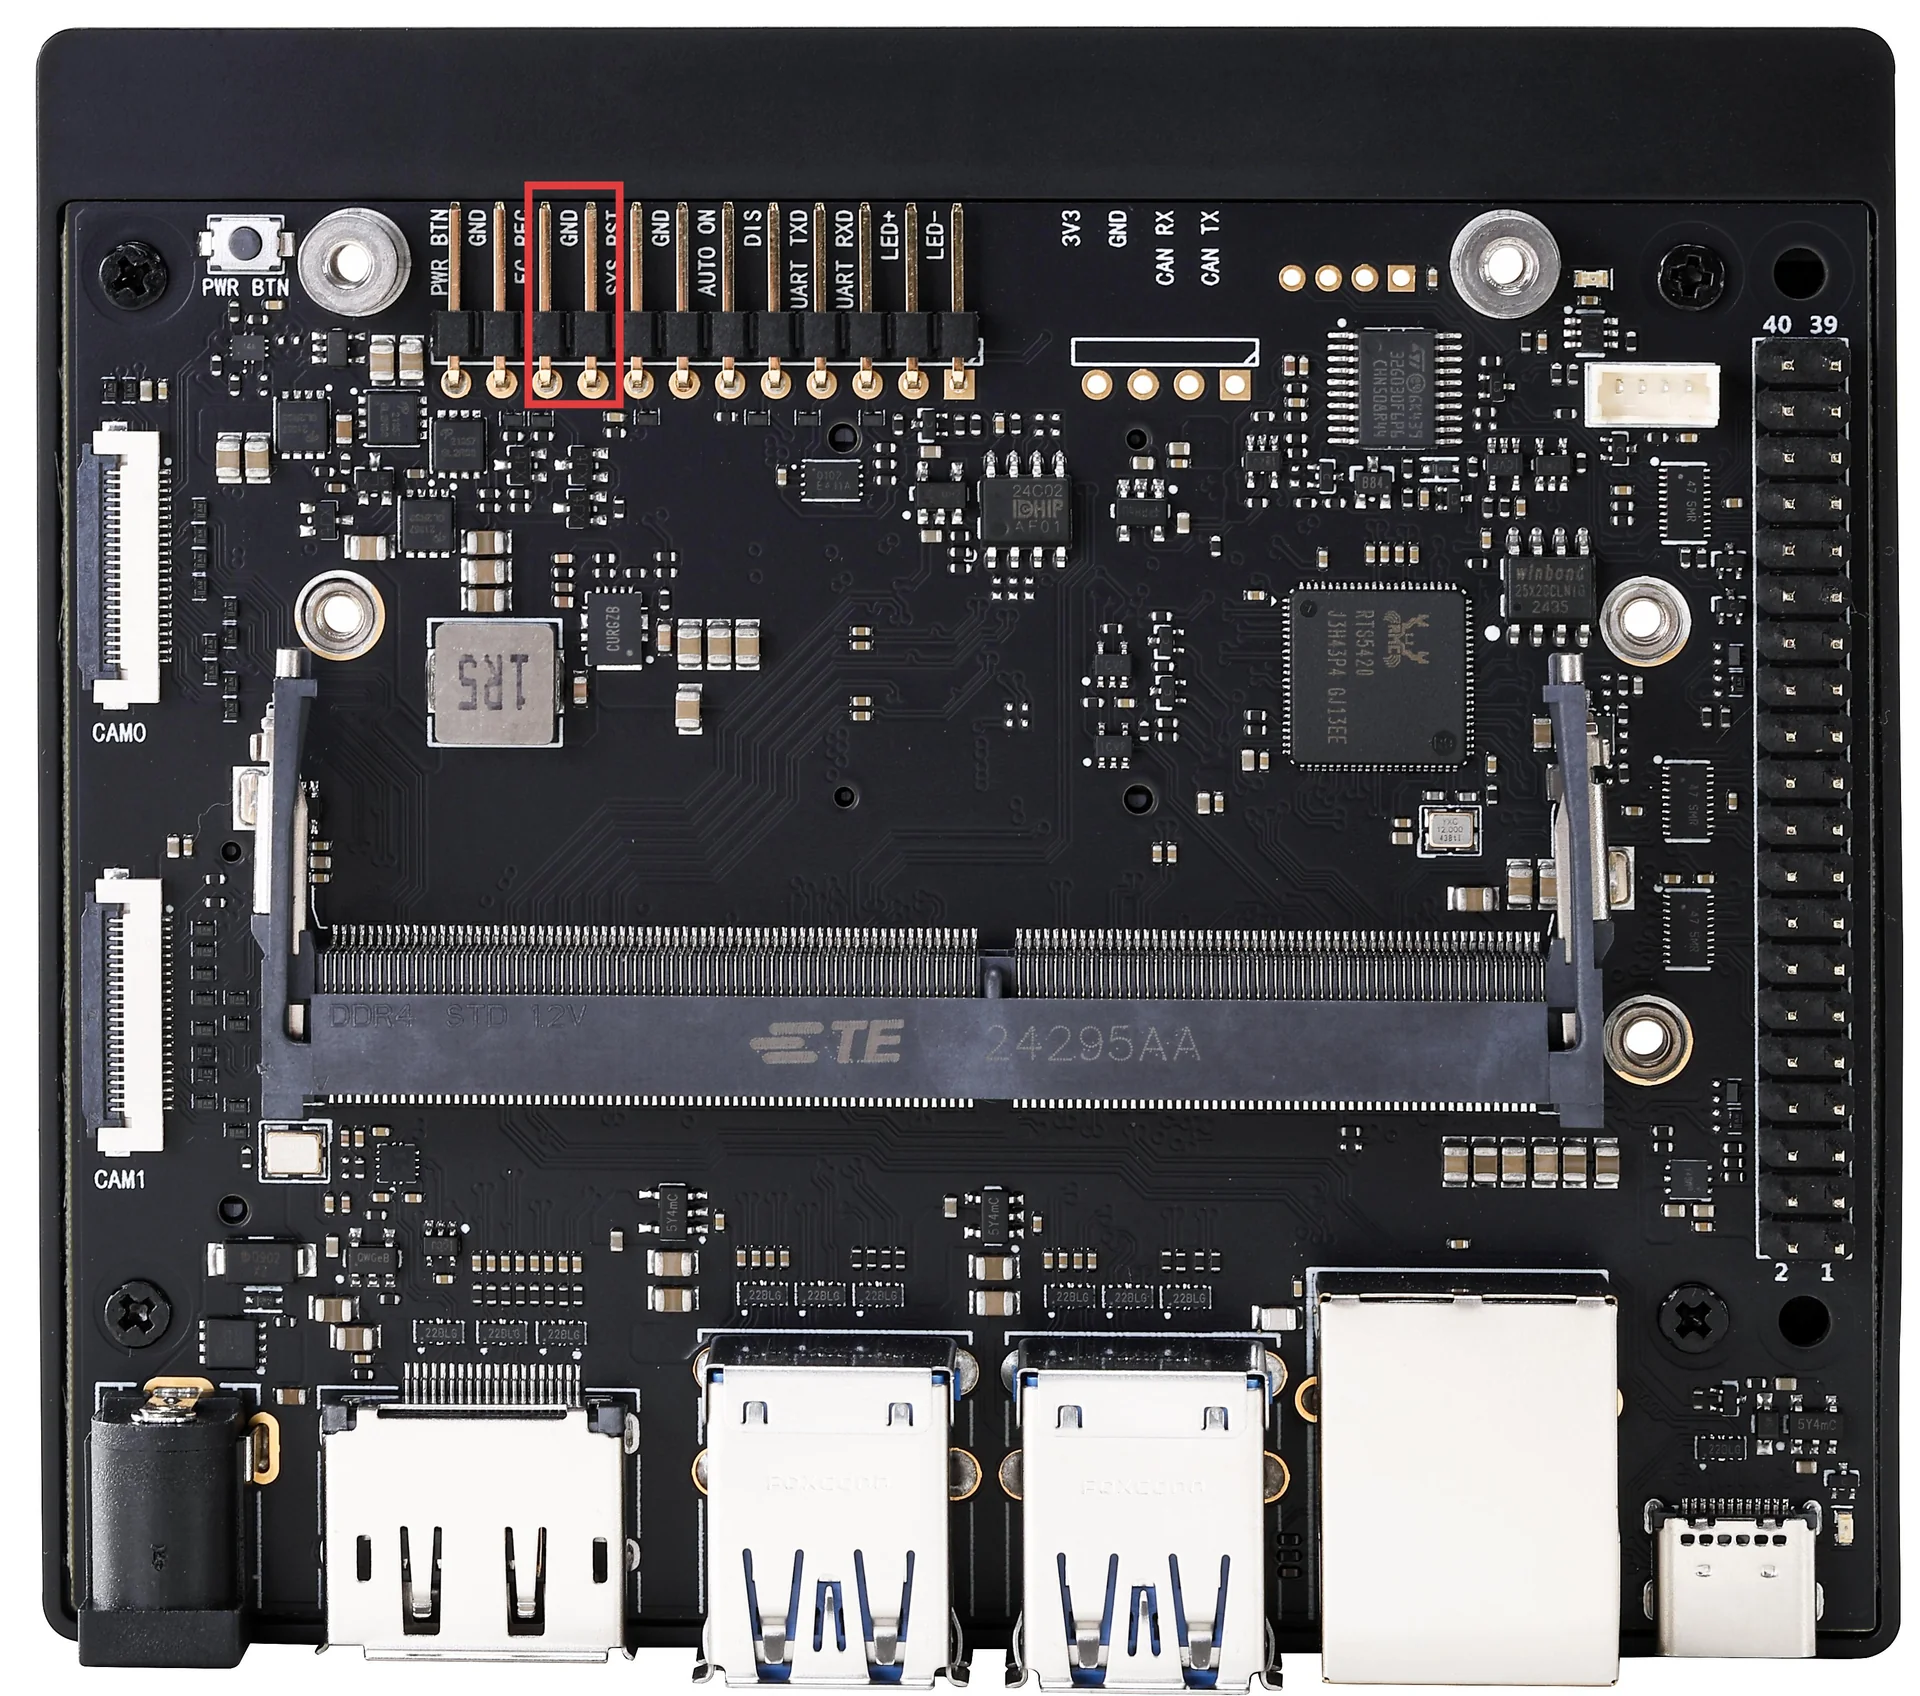
- Use a jumper cap to short the FC REC and GND pins on the board
- Connect the board to the computer with a USB to Type-C cable
- Connect the board's DC power supply
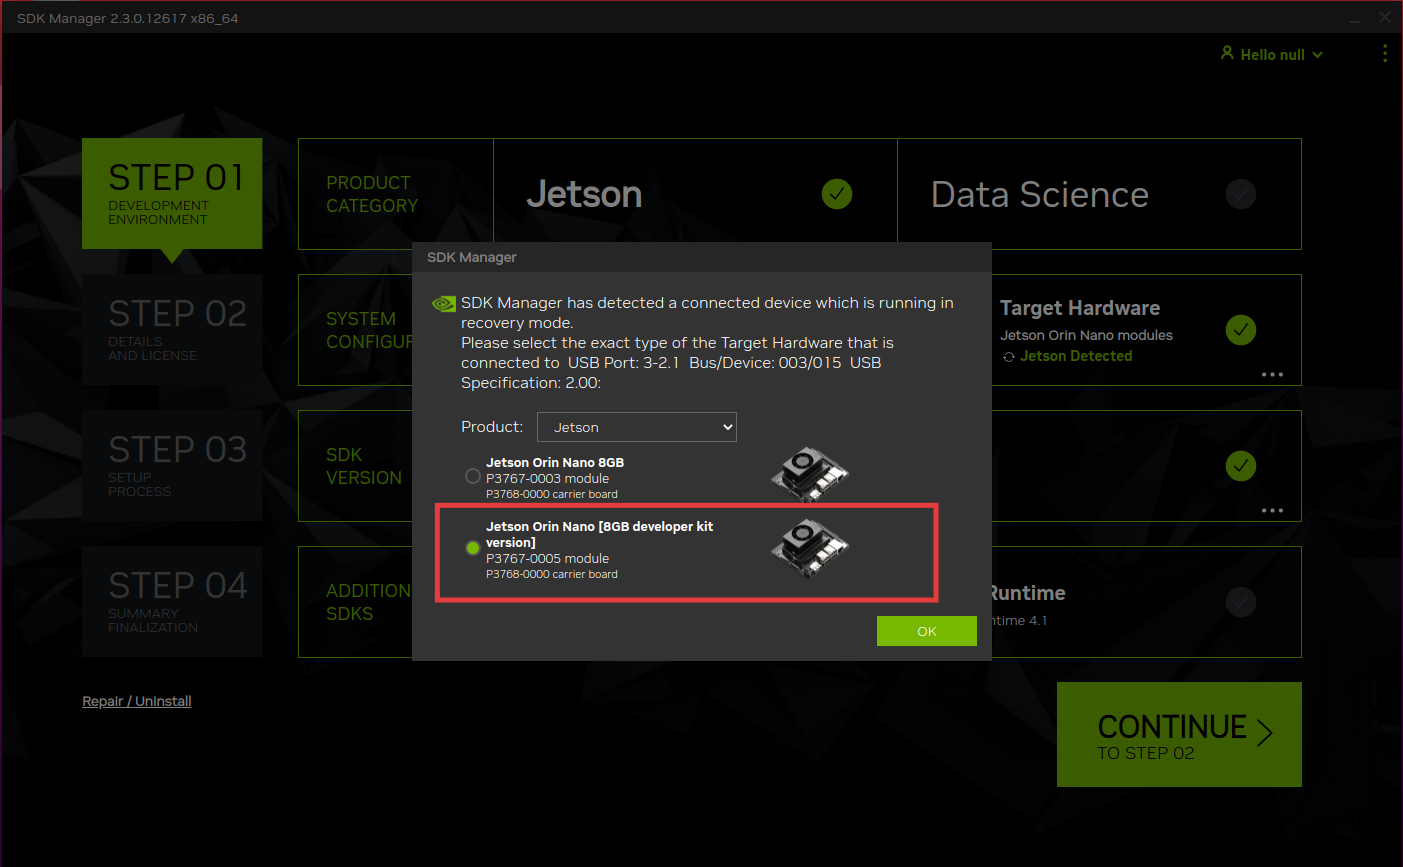
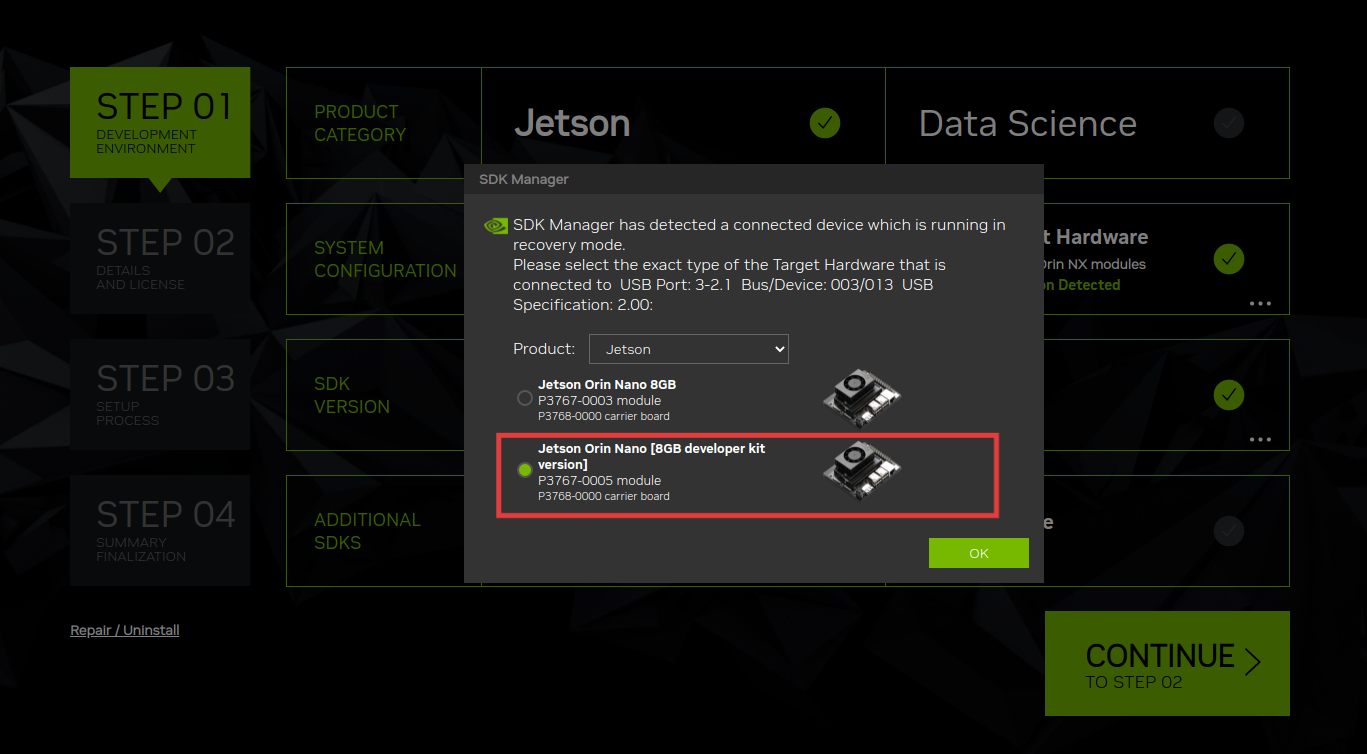
- After successfully entering recovery mode, SDK Manager will automatically detect the SoM type
If no operation is performed for a while after entering recovery mode, the board will reboot into the system, so pay attention to the timing of your operations.
3.3 Configure the SDK
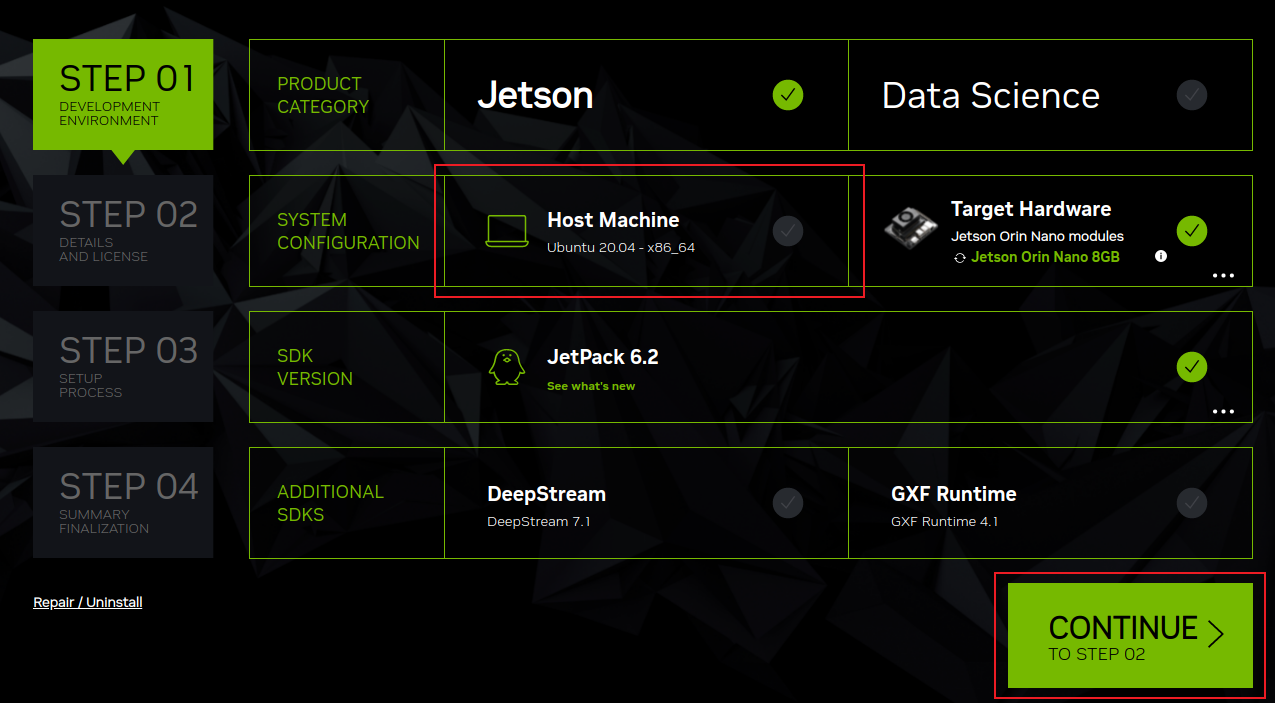
- Uncheck Host Machine and click CONTINUE
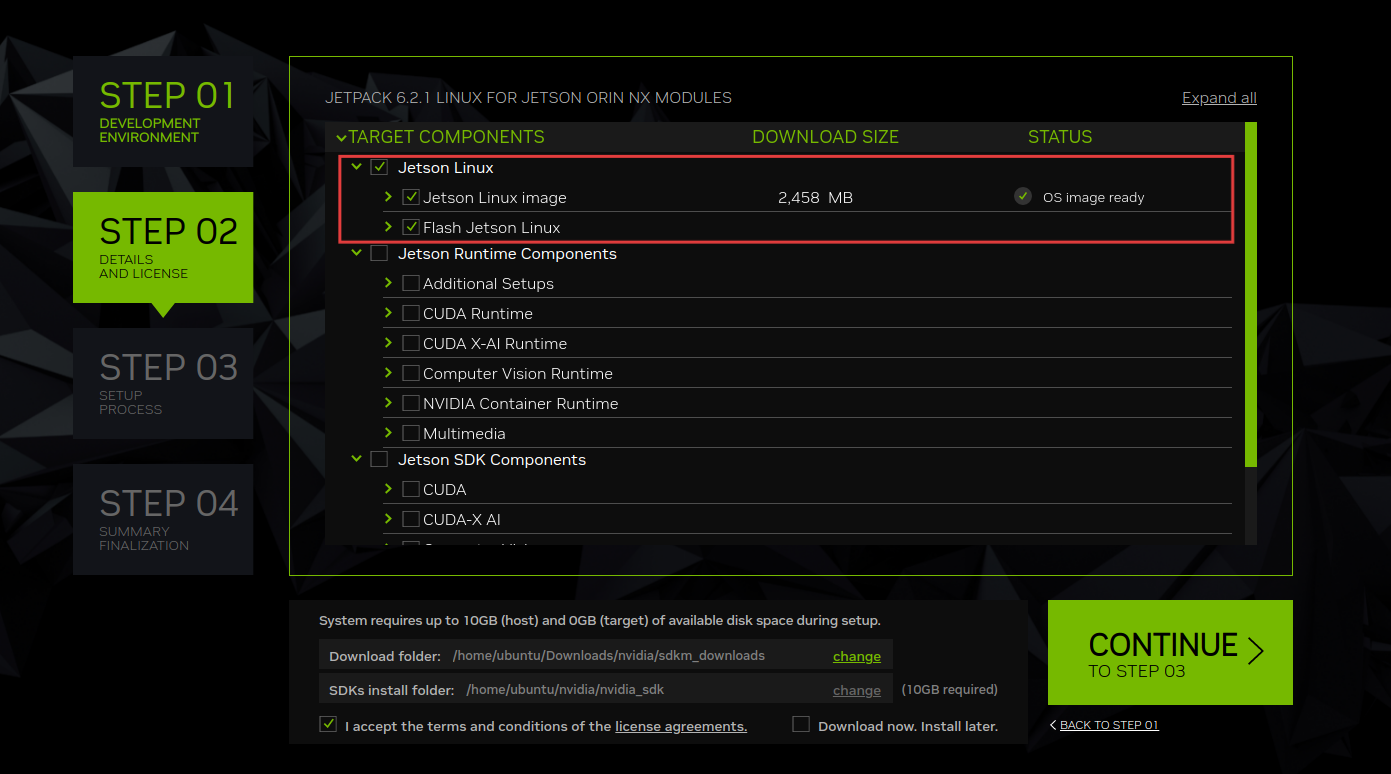
- Check only Jetson Linux
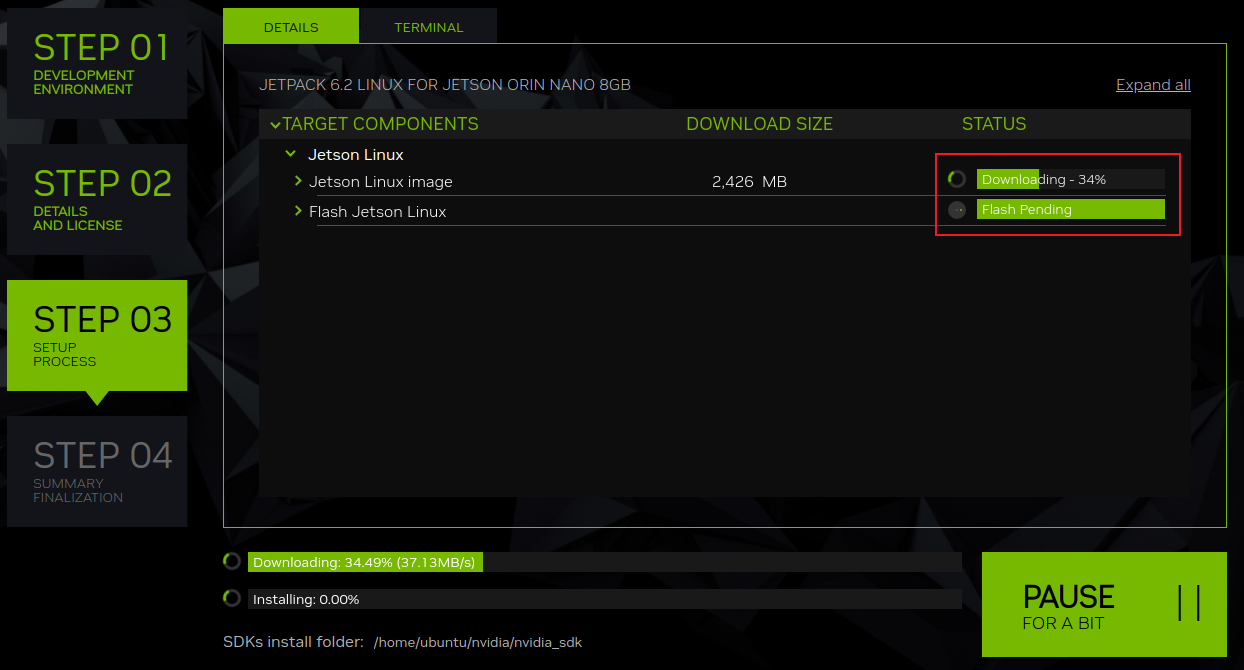
3.4 Wait for the Download to Complete
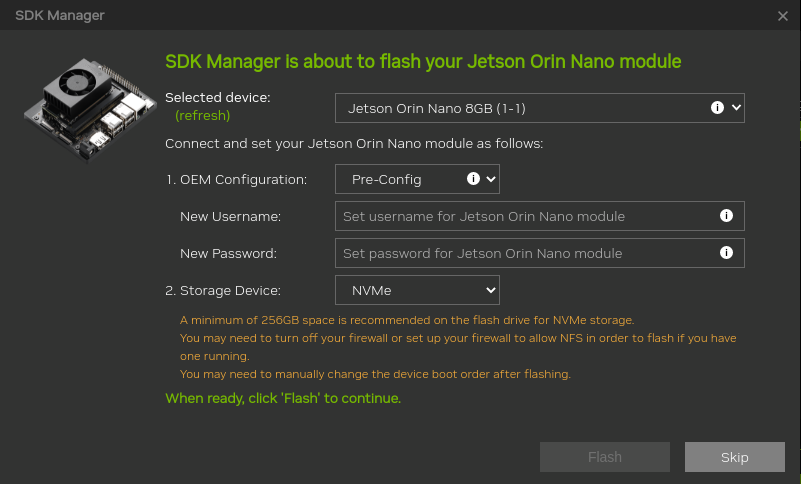
3.5 Configure Flashing Parameters
- Pre-Config: preset account and password
- Runtime: configure the account and password yourself after booting
- Storage Device: the medium the system is flashed to (SD card / SSD / USB drive)
- Select Developer Kit Version
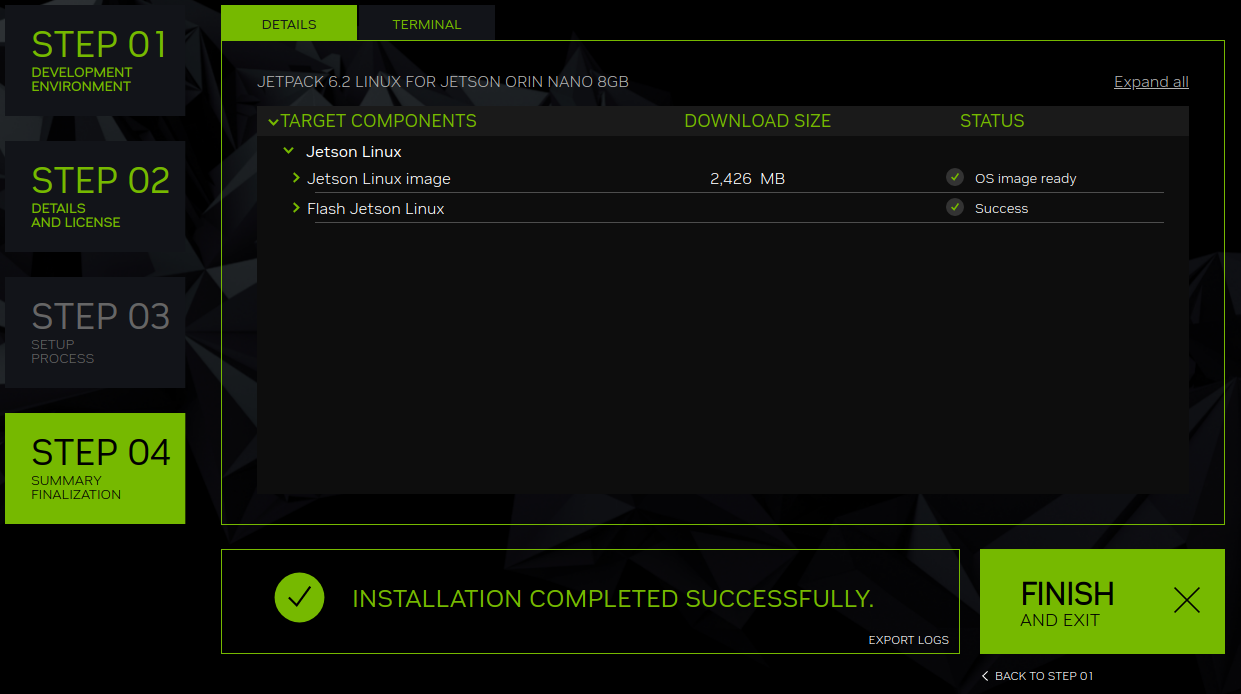
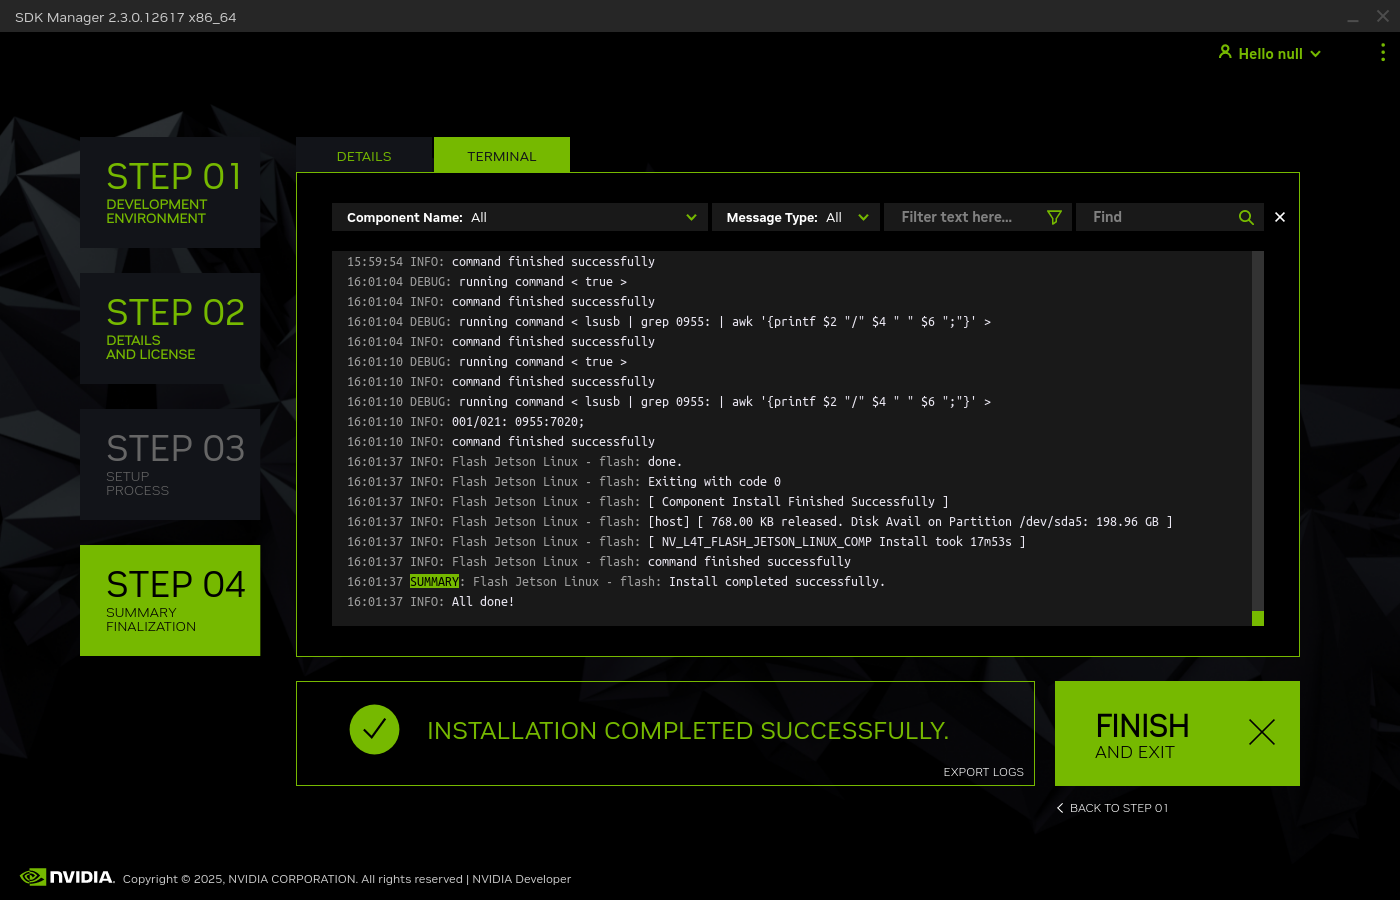
Please wait patiently for the flashing to complete (10–20 minutes). Do not unplug the data cable or cut the board's power during the process.
4. Flash SUPER Firmware via Command Line
You must complete at least one full flash with SDK Manager first to create the firmware cache.
4.1 Enter Recovery Mode
Short FC REC and GND with a jumper cap, connect to the computer via Type-C, and connect the power supply.
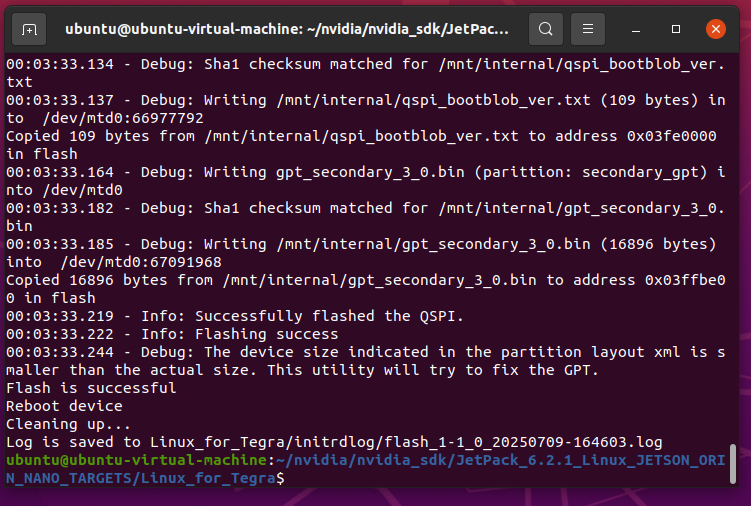
4.2 Command-Line Flashing
Close any running SDK Manager application. The flashing process takes about 10–20 minutes.
JetPack 6.2:
cd ~/nvidia/nvidia_sdk/JetPack_6.2.1_Linux_JETSON_ORIN_NANO_TARGETS/Linux_for_Tegra
sudo ./tools/kernel_flash/l4t_initrd_flash.sh --external-device nvme0n1p1   -c tools/kernel_flash/flash_l4t_t234_nvme.xml -p "-c bootloader/generic/cfg/flash_t234_qspi.xml"   --showlogs --network usb0 jetson-orin-nano-devkit-super internal
JetPack 5.1.5:
cd ~/nvidia/nvidia_sdk/JetPack_5.1.5_Linux_JETSON_ORIN_NANO_TARGETS/Linux_for_Tegra
sudo ./tools/kernel_flash/l4t_initrd_flash.sh --external-device nvme0n1p1   -c tools/kernel_flash/flash_l4t_external.xml -p "-c bootloader/t186ref/cfg/flash_t234_qspi.xml"   --showlogs --network usb0 jetson-orin-nano-devkit-super internal
4.3 Verify SUPER Mode
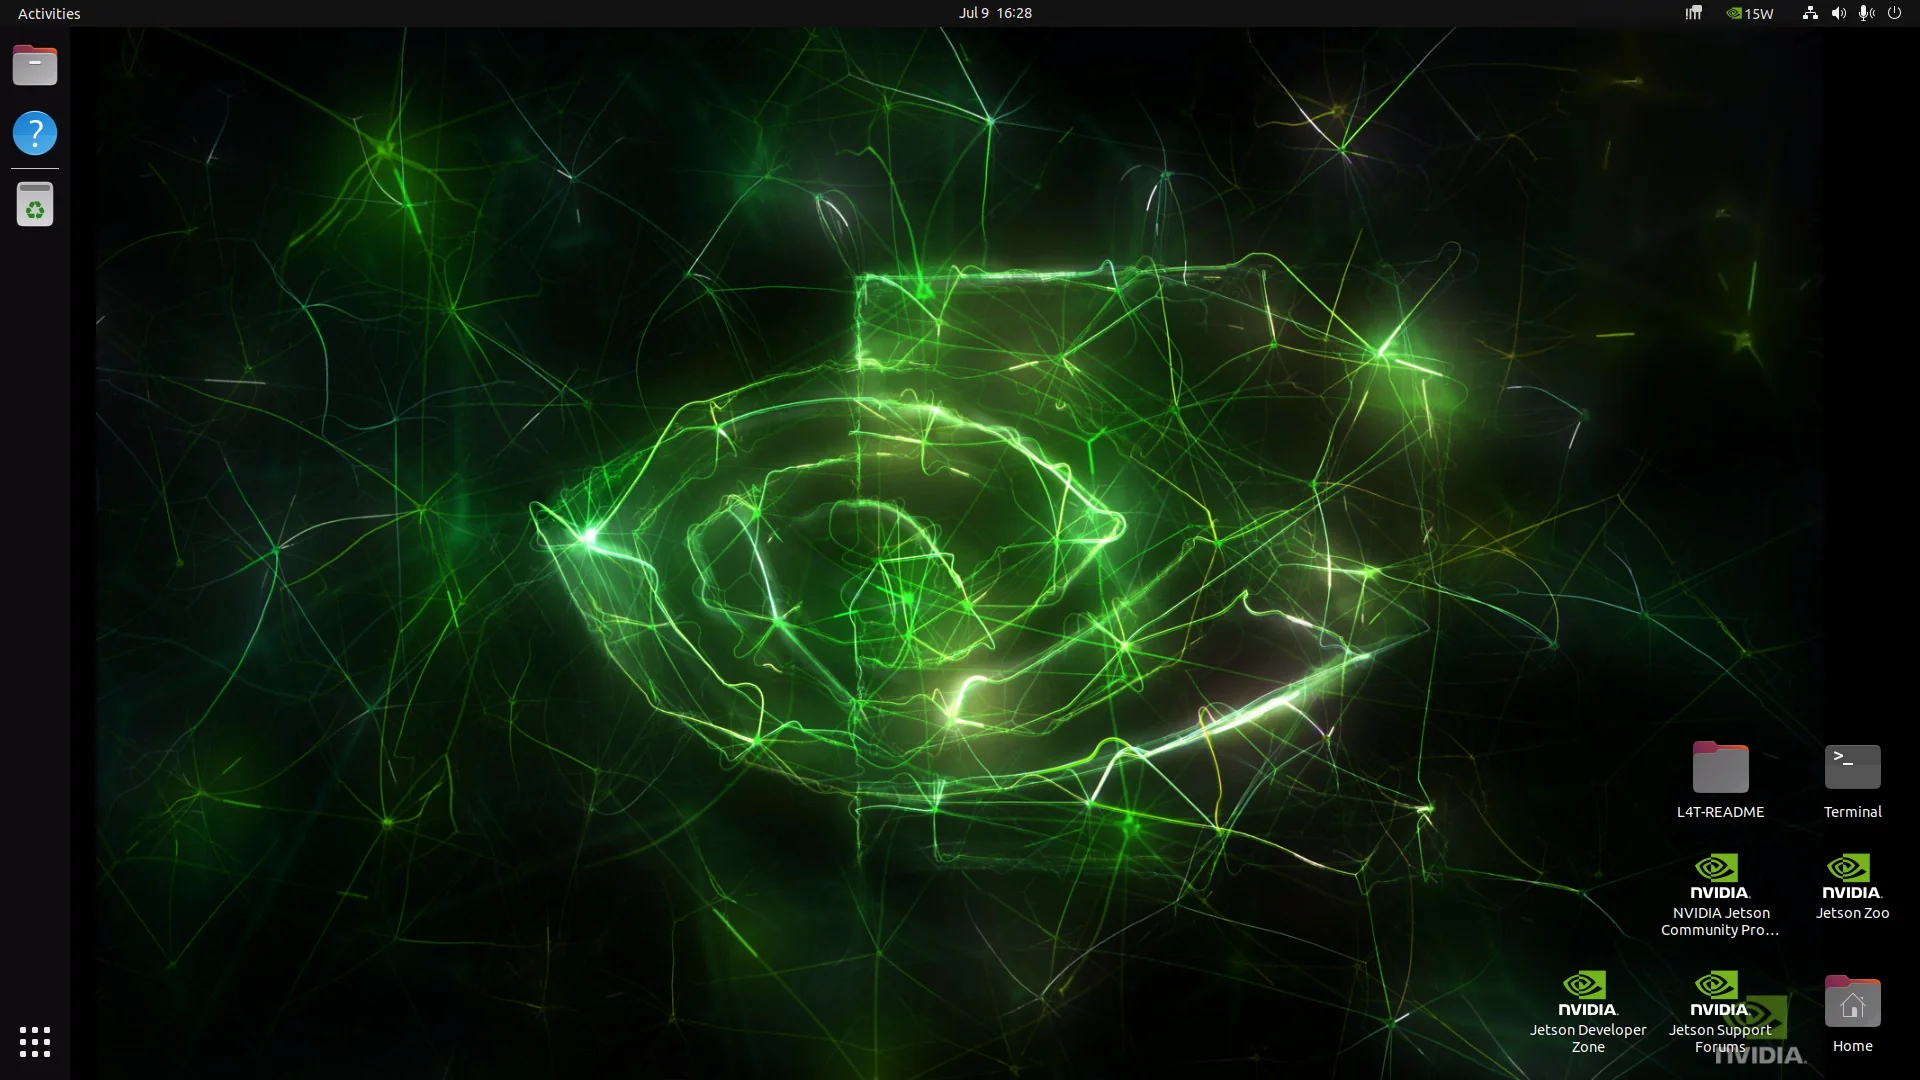
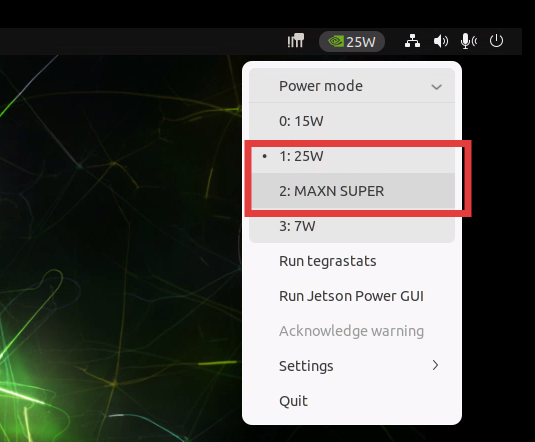
After booting, select the power mode in the top-right corner of the desktop. 25W & MAXN SUPER are exclusive to SUPER mode; the normal mode only offers 7W and 15W.
5. Back Up and Restore Existing Firmware
5.1 Back Up Firmware
Enter recovery mode (short FC REC + GND with a jumper cap and connect via Type-C), or run the following in the system:
sudo reboot -f forced-recoverycd ~/nvidia/nvidia_sdk/JetPack_6.2.1_Linux_JETSON_ORIN_NANO_TARGETS/Linux_for_Tegra
sudo apt-get install qemu-user-static libxml2-utils abootimg sshpass nfs-kernel-server binutilsBackup:
sudo ./tools/backup_restore/l4t_backup_restore.sh -b -e nvme0n1 jetson-orin-nano-devkit-nvmeRestore:
sudo ./tools/backup_restore/l4t_backup_restore.sh -r -e nvme0n1 jetson-orin-nano-devkit-nvmeIf you use a third-party carrier board to restore a backup, you need to edit
nvrestore_partitions.shand comment out lines 292–296.