Connecting to the Jetson System
Jetson provides HDMI/DP video output, an RJ45 Ethernet port, a Type-C port, and a UART debug interface. The following describes four methods for connecting to the Jetson development board.
1. Connecting a Monitor
Connect a working DP/HDMI cable to a monitor and power on the board to boot into the desktop. Once a mouse and keyboard are attached, the board can be used like a regular desktop PC.
2. Remote Login (SSH)
This method requires the username and password to have been set up in advance using SDK Manager.
2.1 Connect the Board to a Router and Power It On
2.2 Get the Board's IP Address
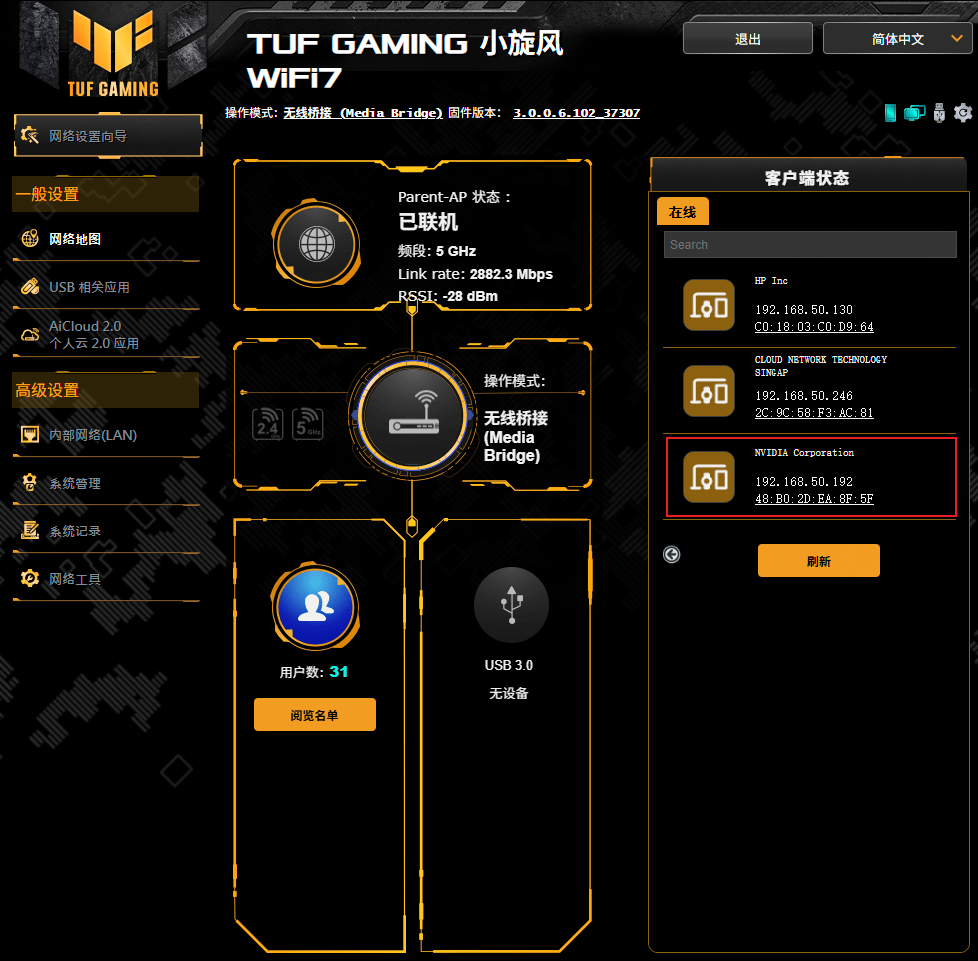
Method 1: Check via the router's admin interface (steps vary by router brand).
Method 2: Use Advanced IP Scanner to scan devices on the same network segment. When flashed with the official firmware, the board appears as a device with the manufacturer NVIDIA Corporation.

2.3 Download and Install an SSH Tool
Download and install a connection tool such as Putty or MobaXterm (MobaXterm is used as the example below).
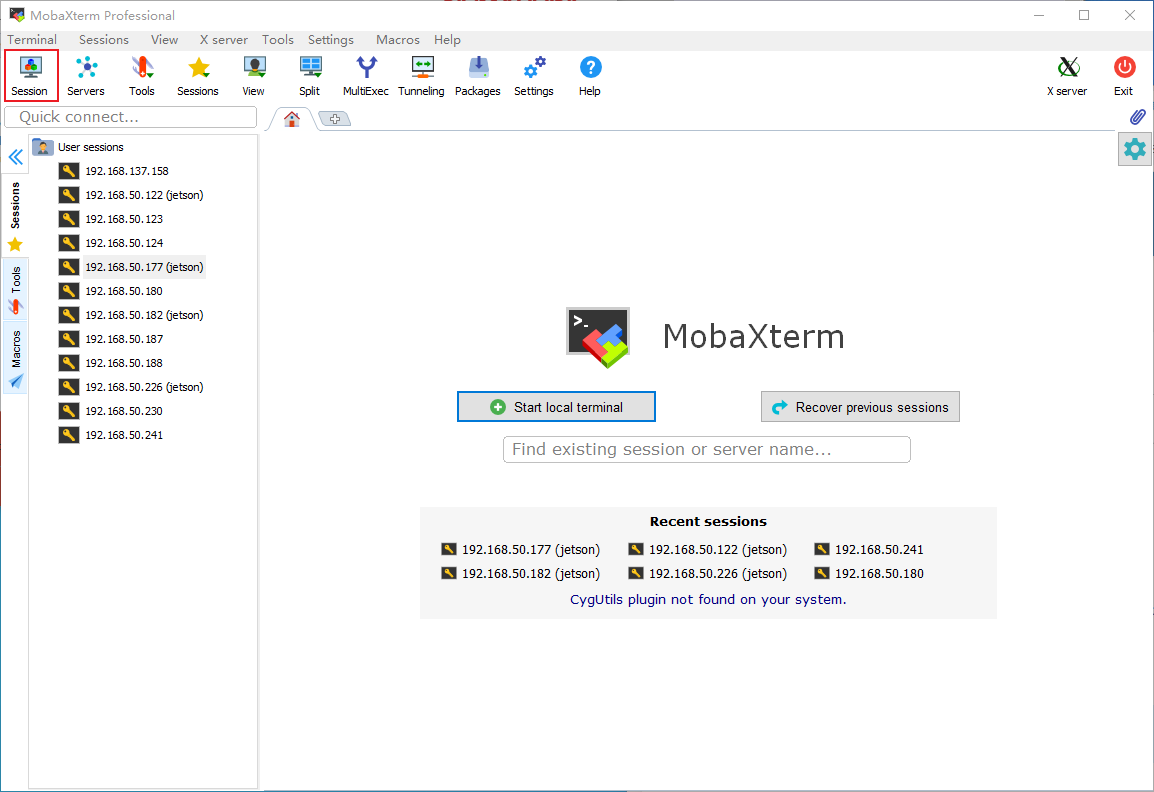
2.4 Click Session to Create a Session
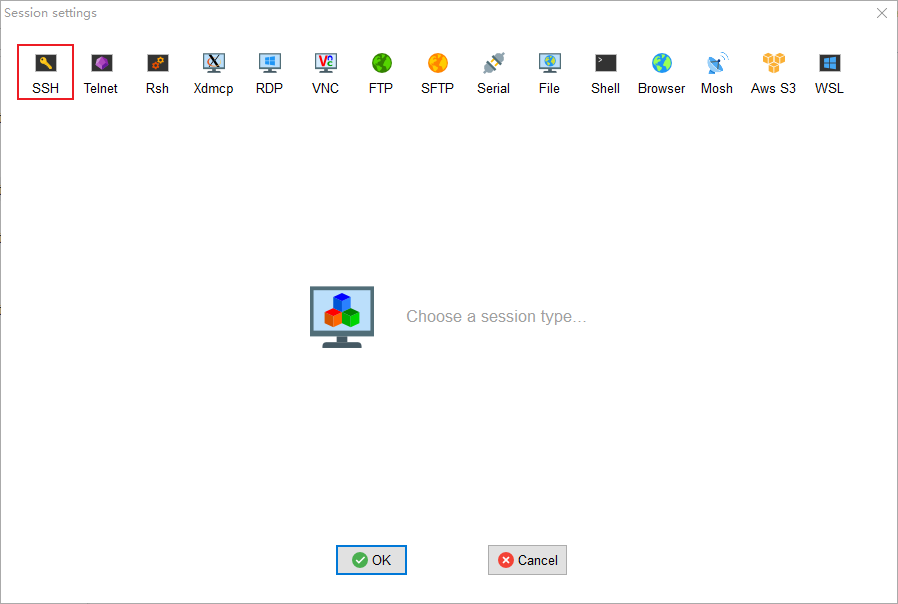
2.5 Select SSH
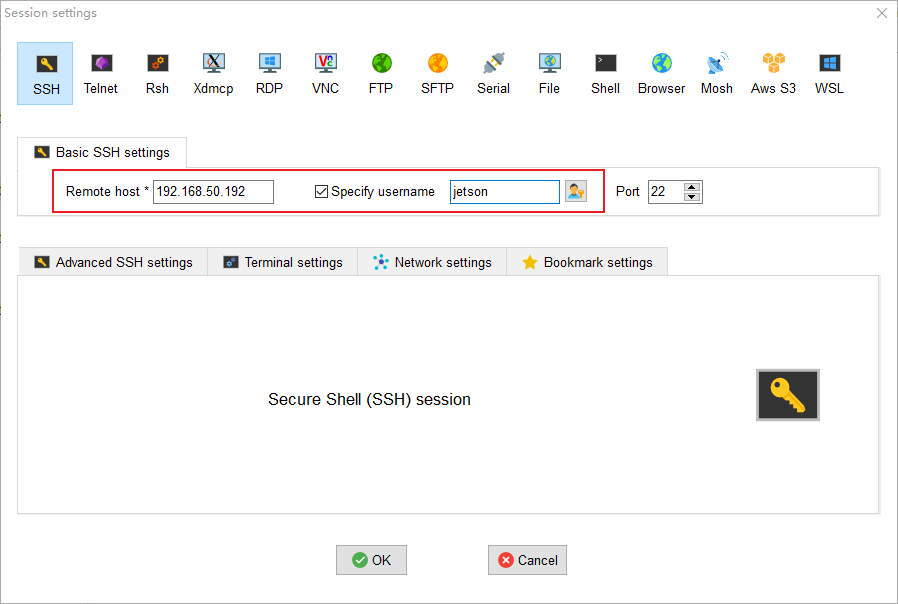
2.6 Enter the IP Address and Username
Enter the IP address you found and the username set when flashing the system, then click OK to save.
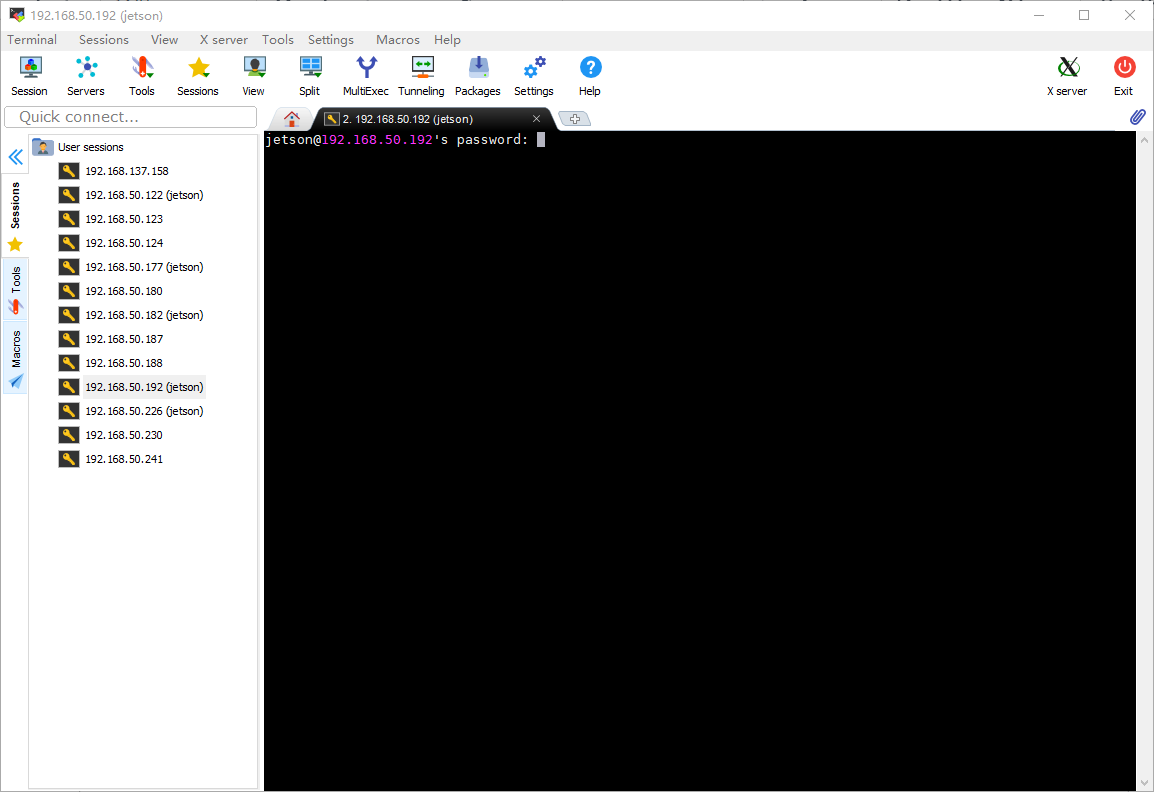
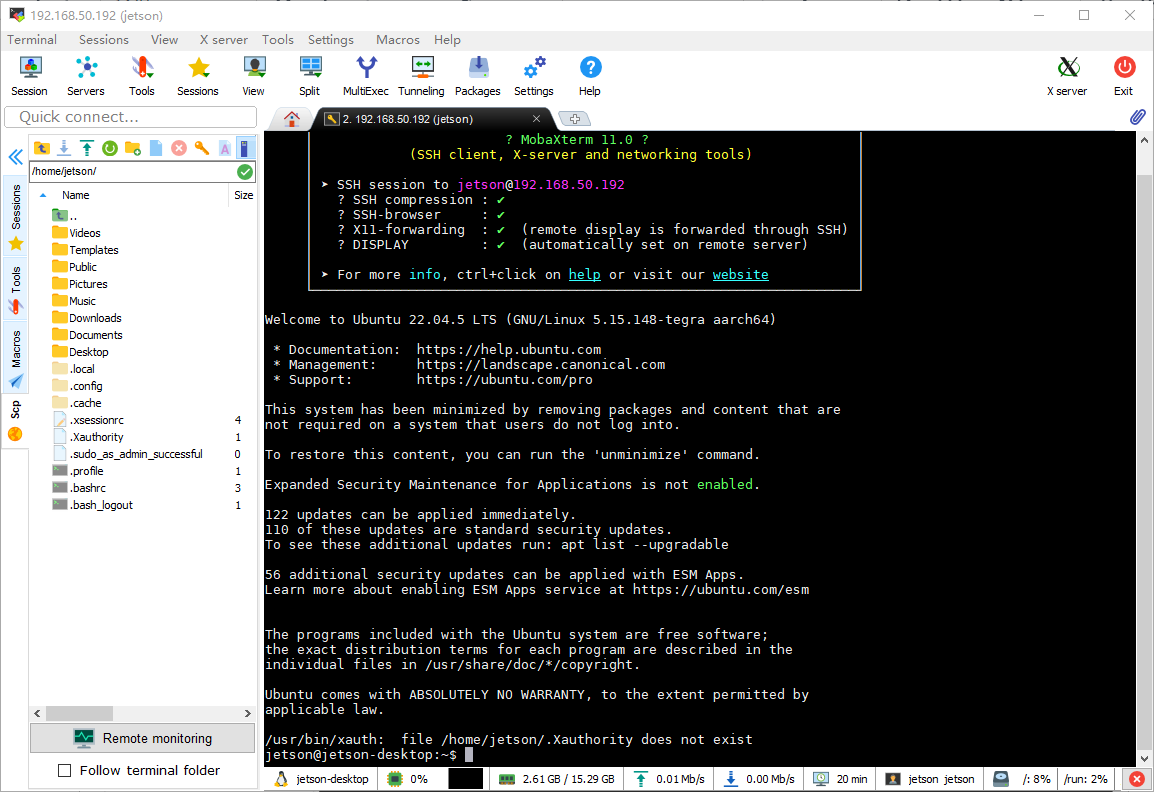
2.7 Enter the Password
Enter the password (it is not displayed on the command line) and press Enter to log in to the system.
3. Connecting to SSH via Type-C
3.1 Power On the Board Normally
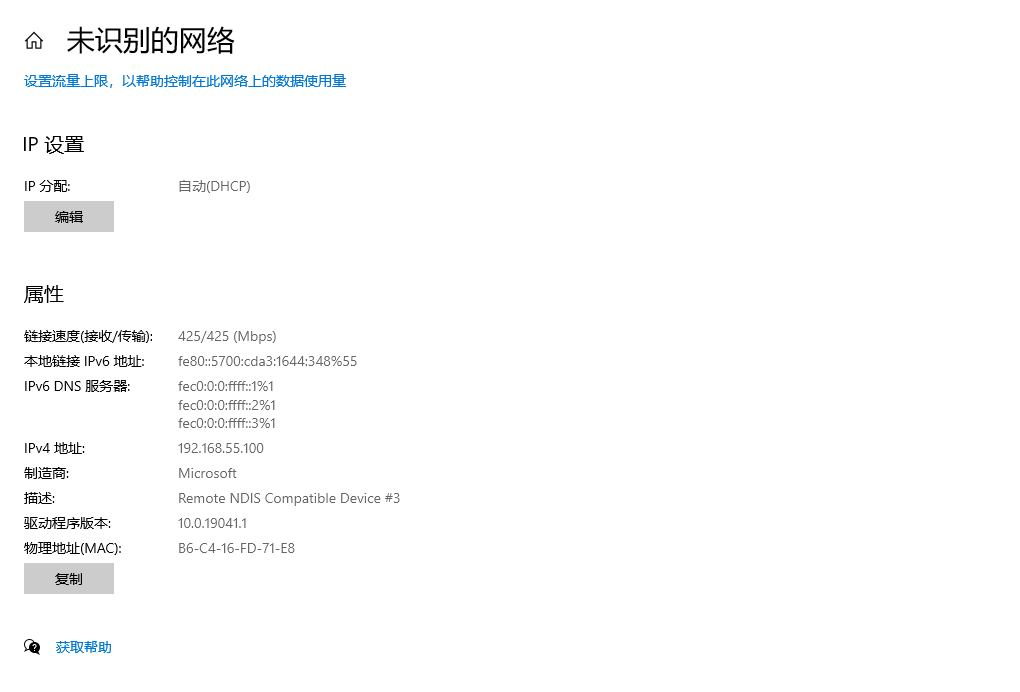
After connecting to the host in the default mode, the Jetson acts as the host by default, with the IP address 192.168.55.1.
3.2 Connect Using an SSH Tool
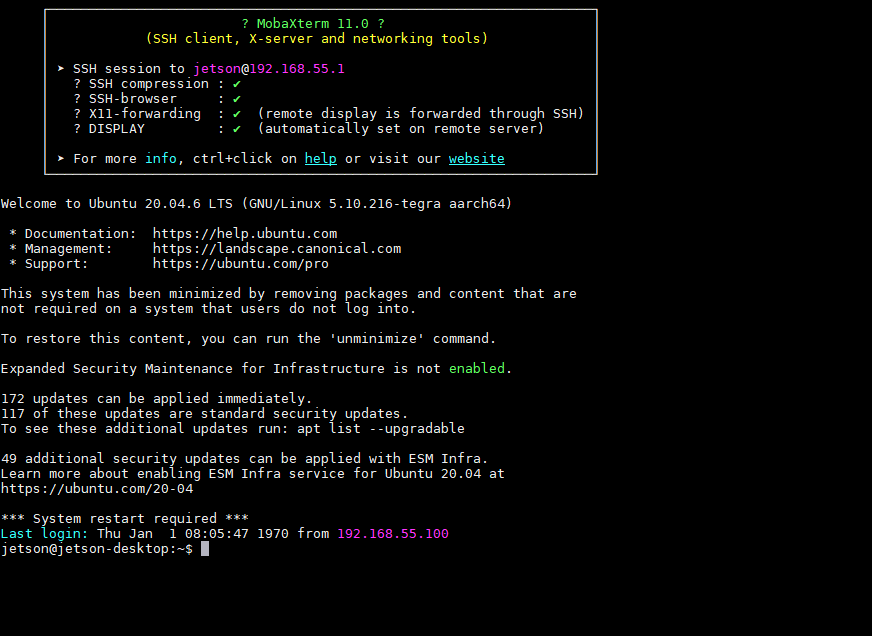
Follow the steps in section 2.3 and connect using the IP 192.168.55.1.
4. Remotely Connecting to the Jetson Desktop Environment
In headless mode, an HDMI/DP dummy plug is recommended to ensure the desktop environment works properly.
4.1 Using NoMachine
NoMachine is a powerful, cross-platform remote desktop application based on the NX protocol. It achieves low-latency transmission through efficient compression and encryption, making it especially suitable for graphics-intensive tasks.
Steps:
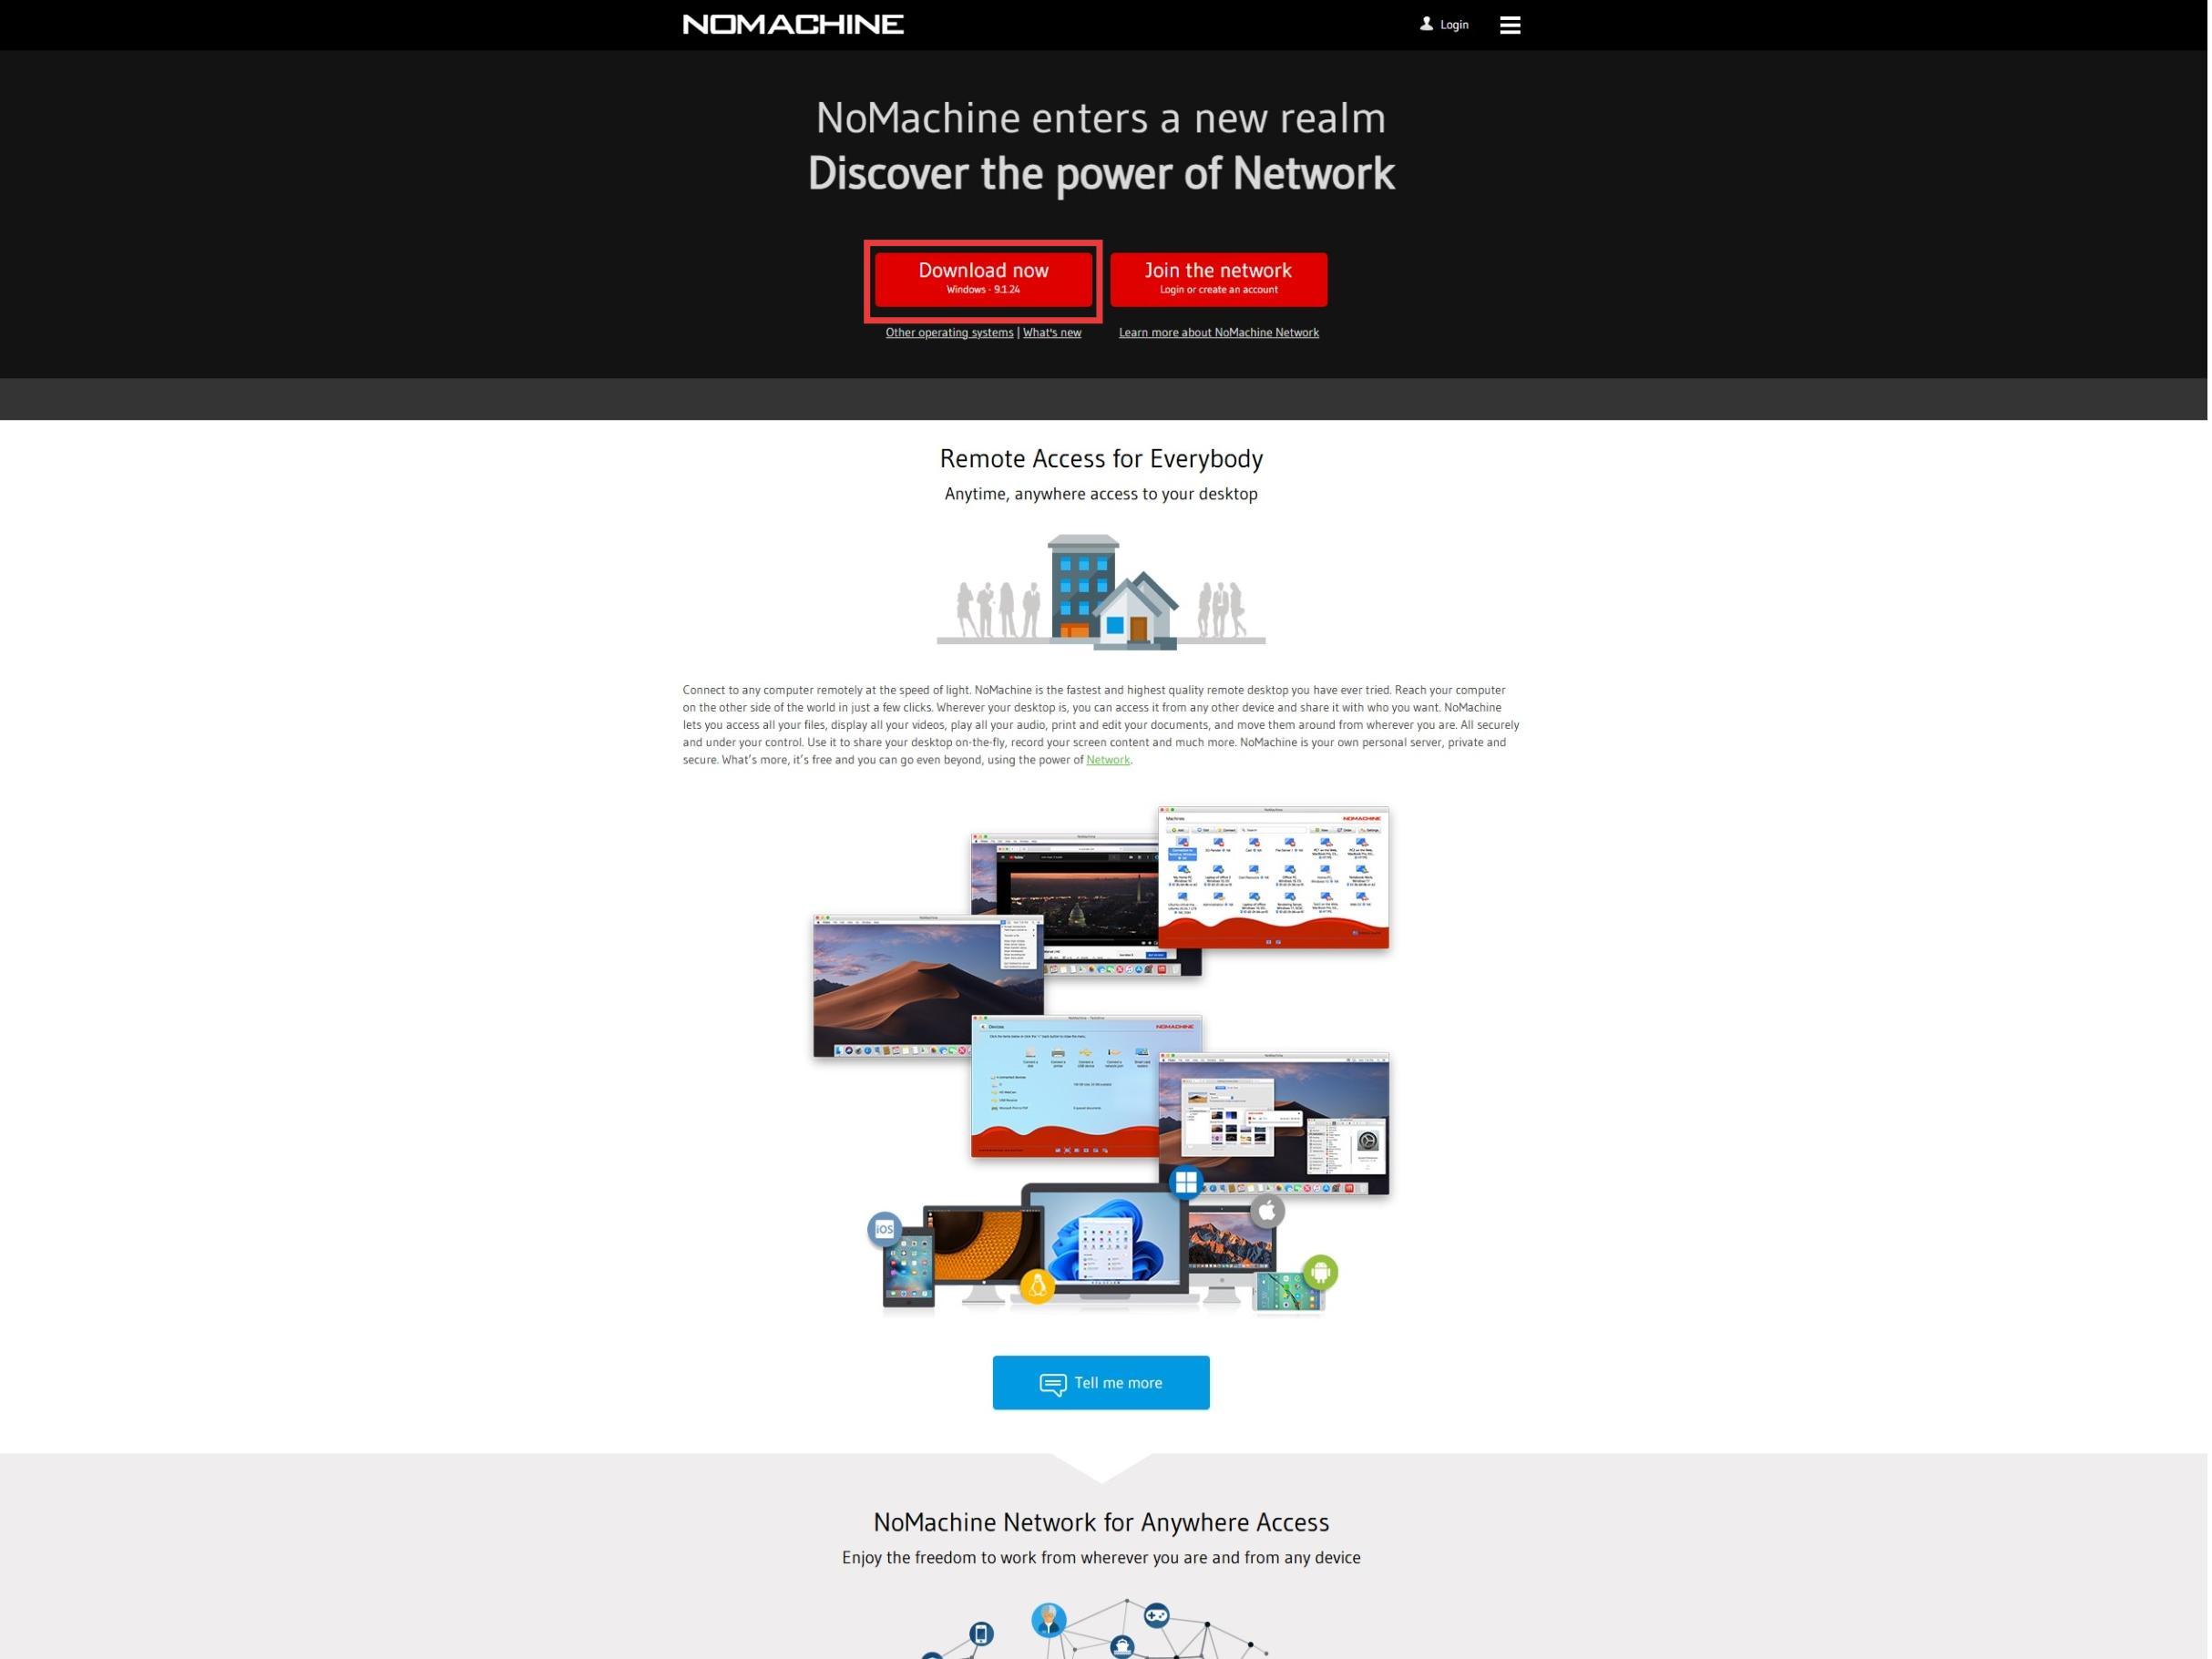
- Download and install NoMachine on the host
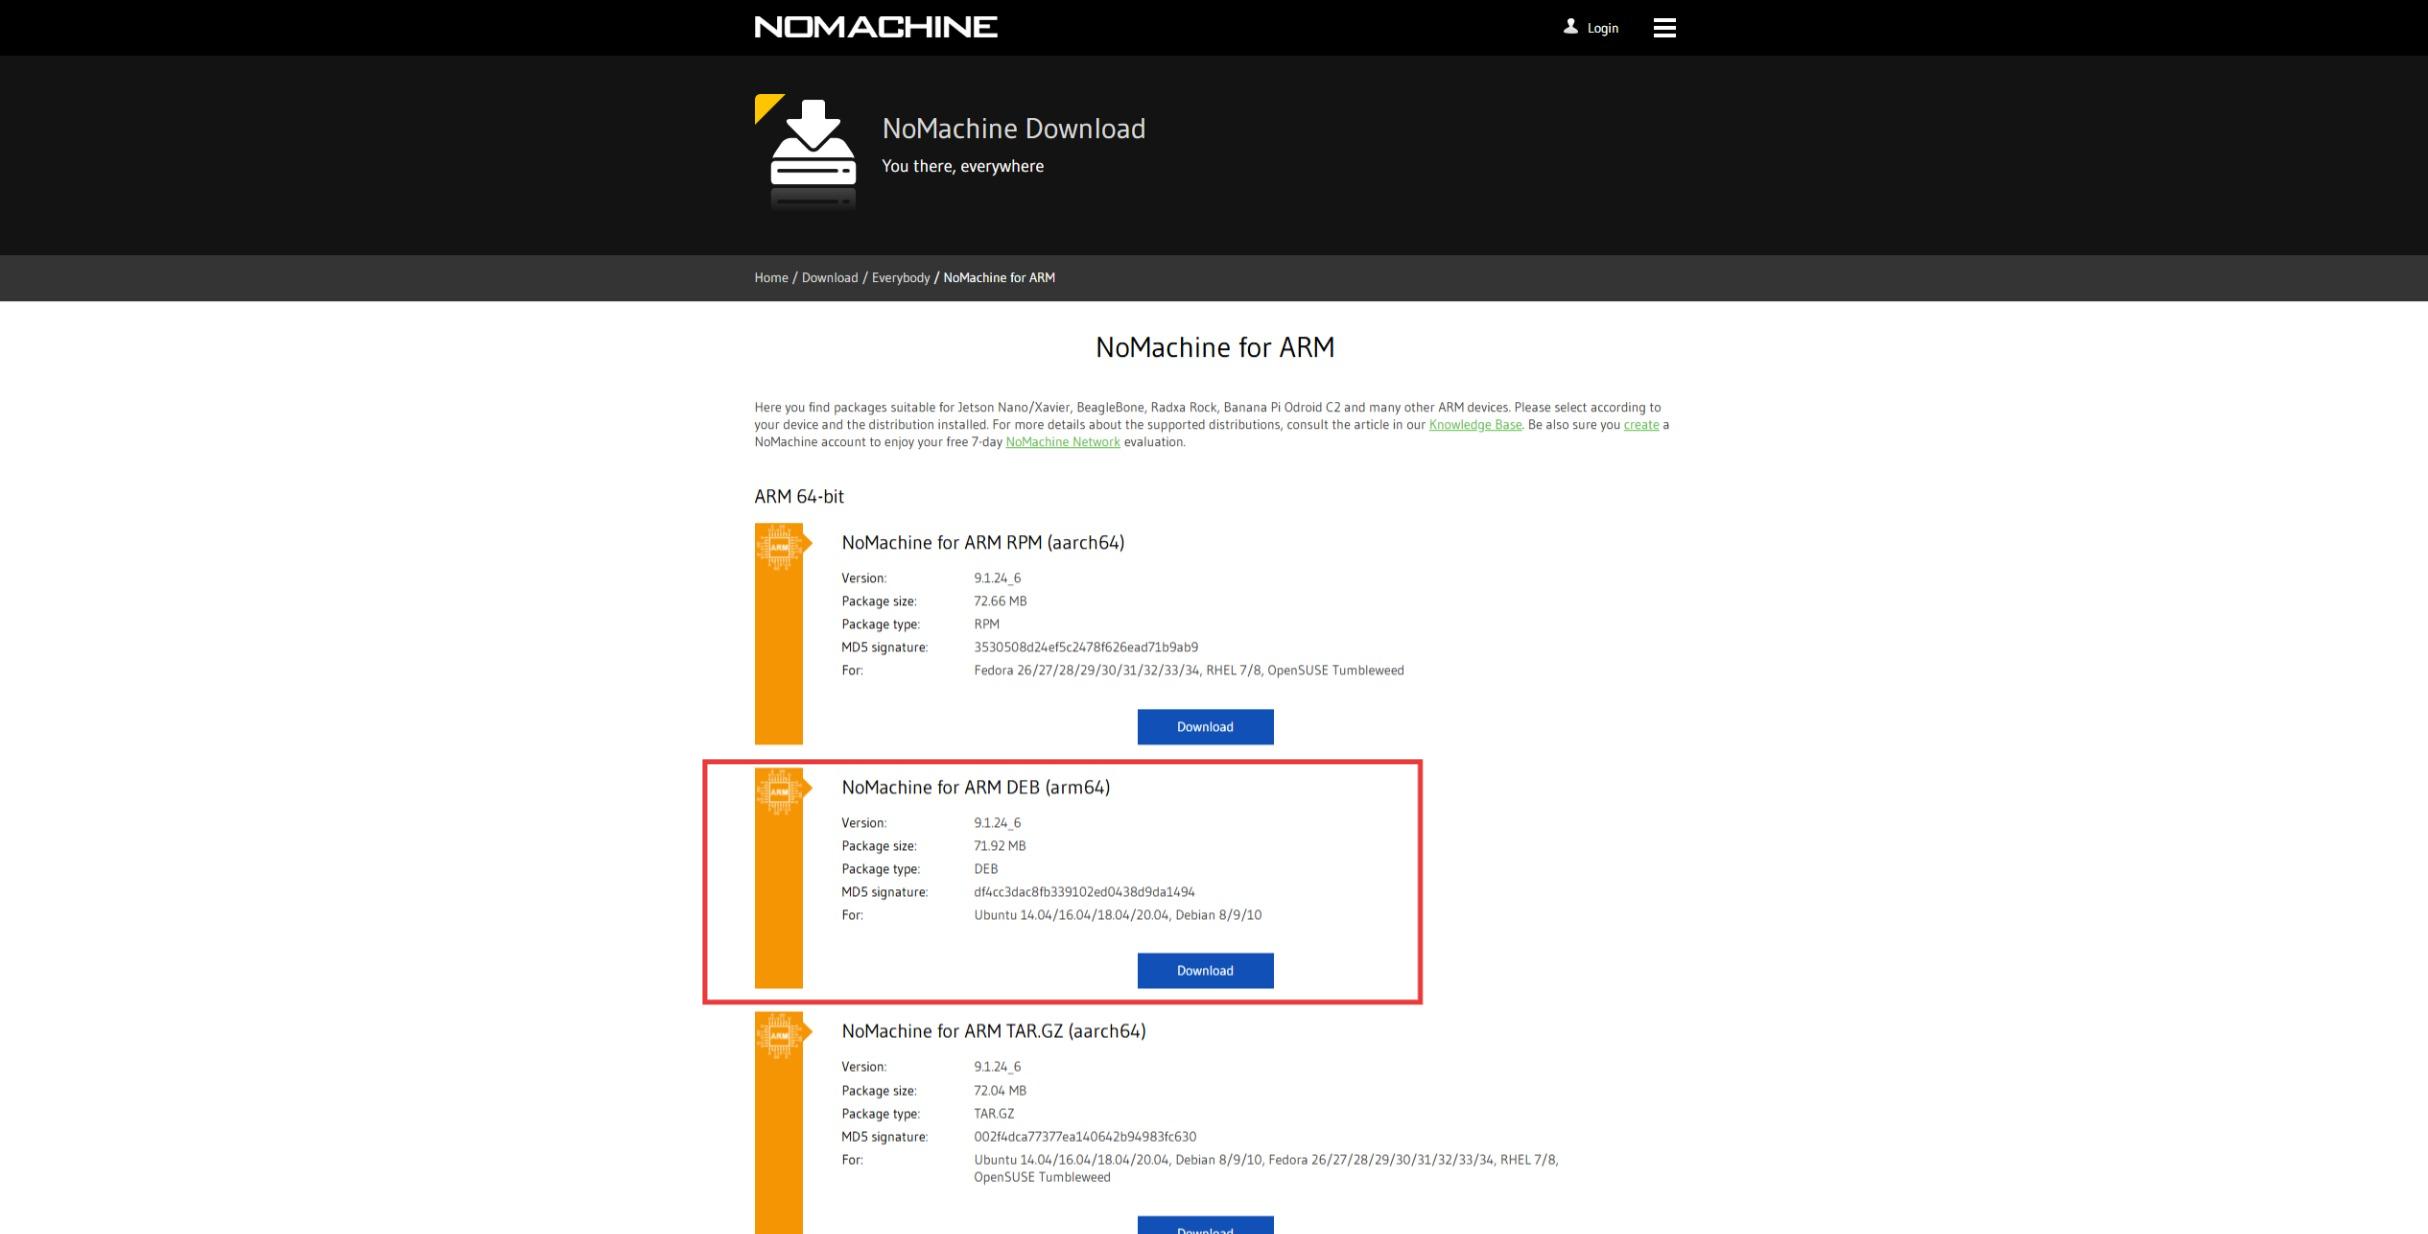
- Download and install NoMachine on the Jetson (ARM version download page)
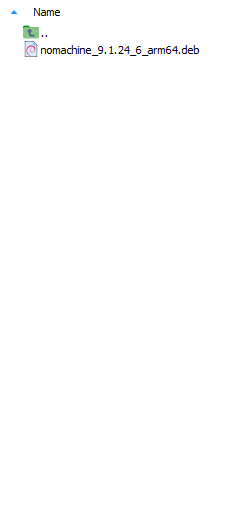
- Upload it to the board via SCP, or download it with wget, then install:
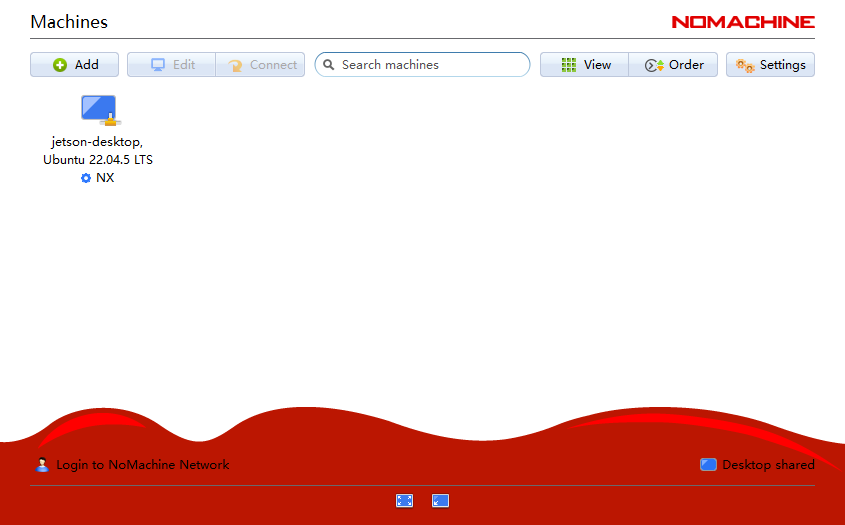
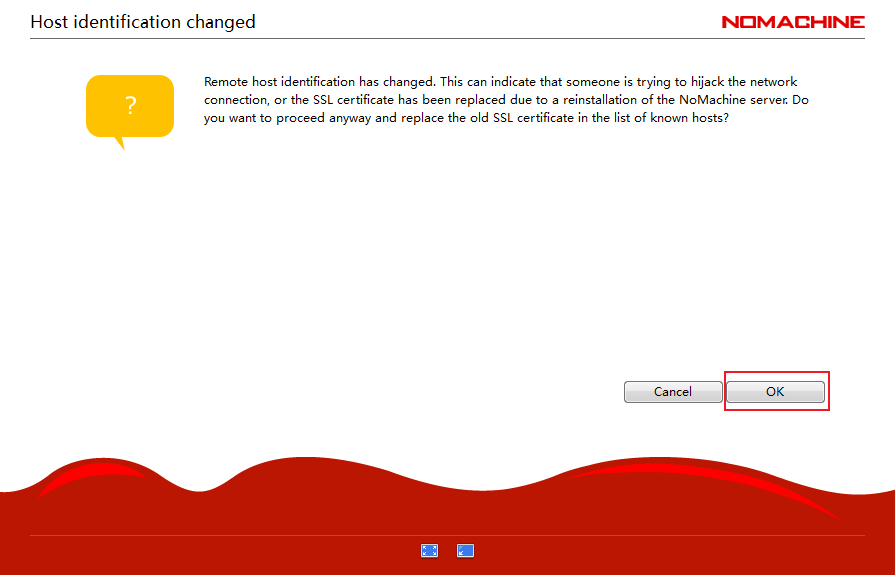
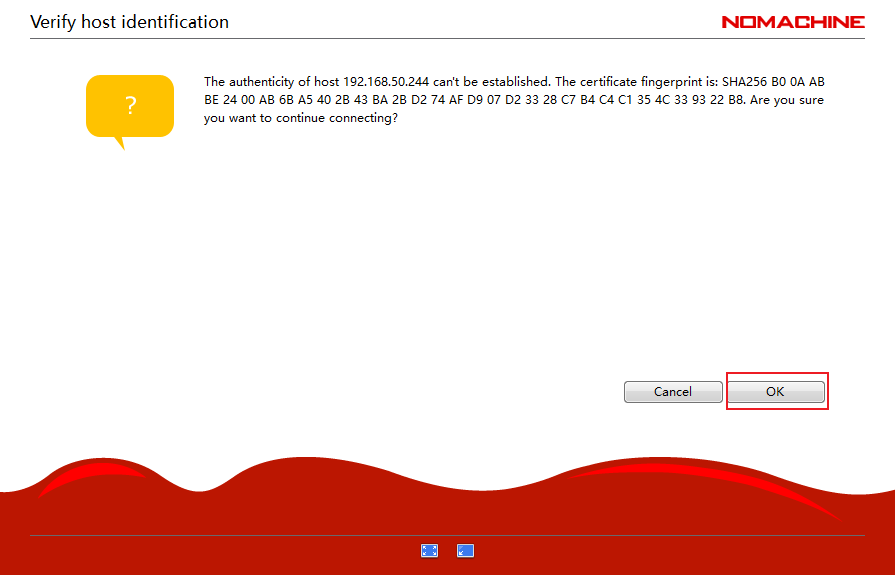
sudo dpkg -i nomachine_9.1.24_6_arm64.deb- Connect the host and the board to the same LAN; open NoMachine on the host and the Jetson server will be discovered automatically
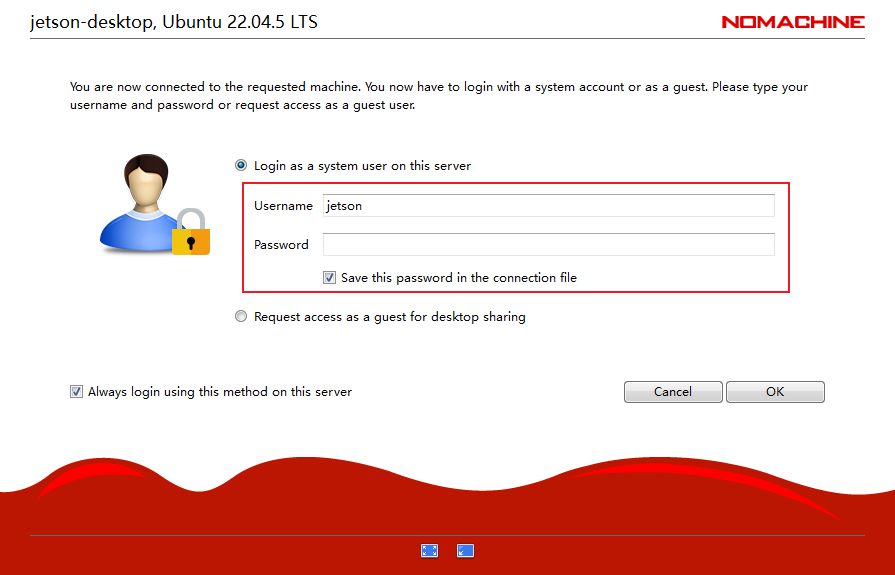
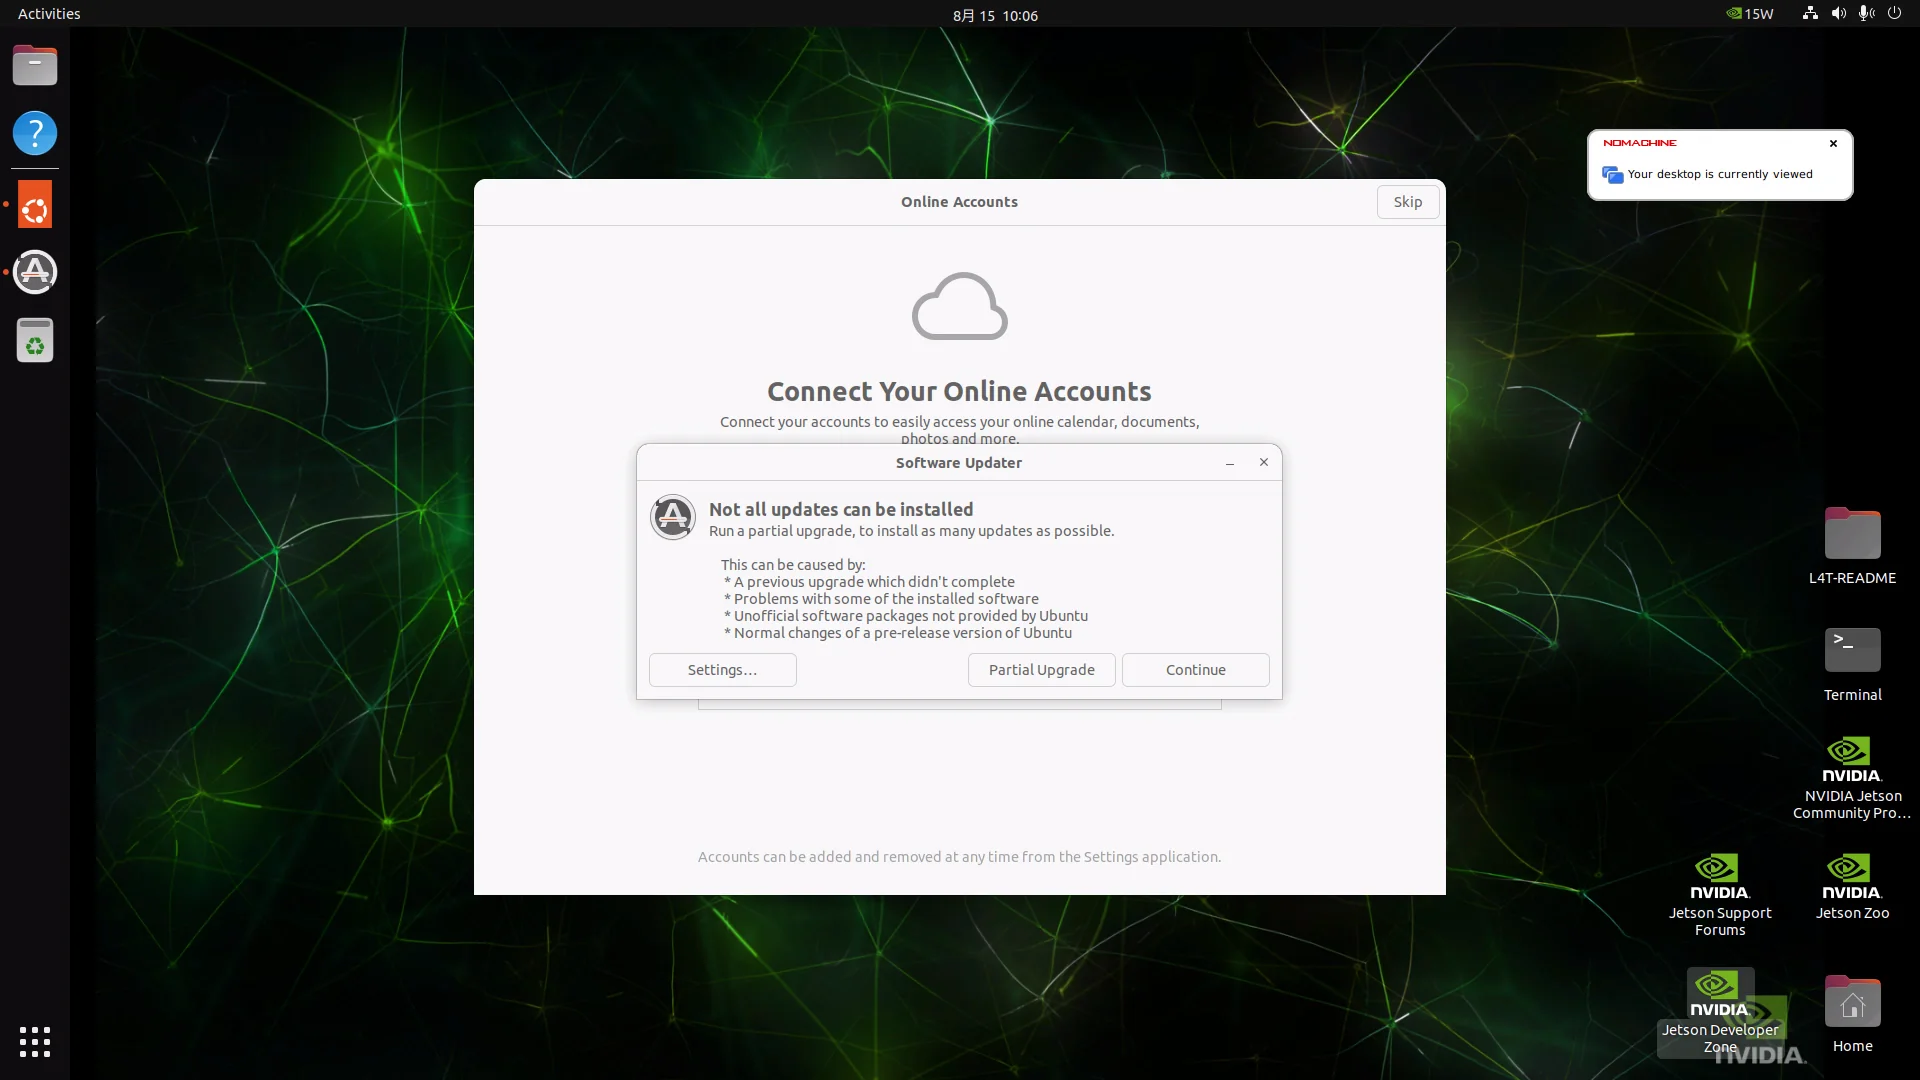
- Enter the username and password, then click OK to connect to the desktop
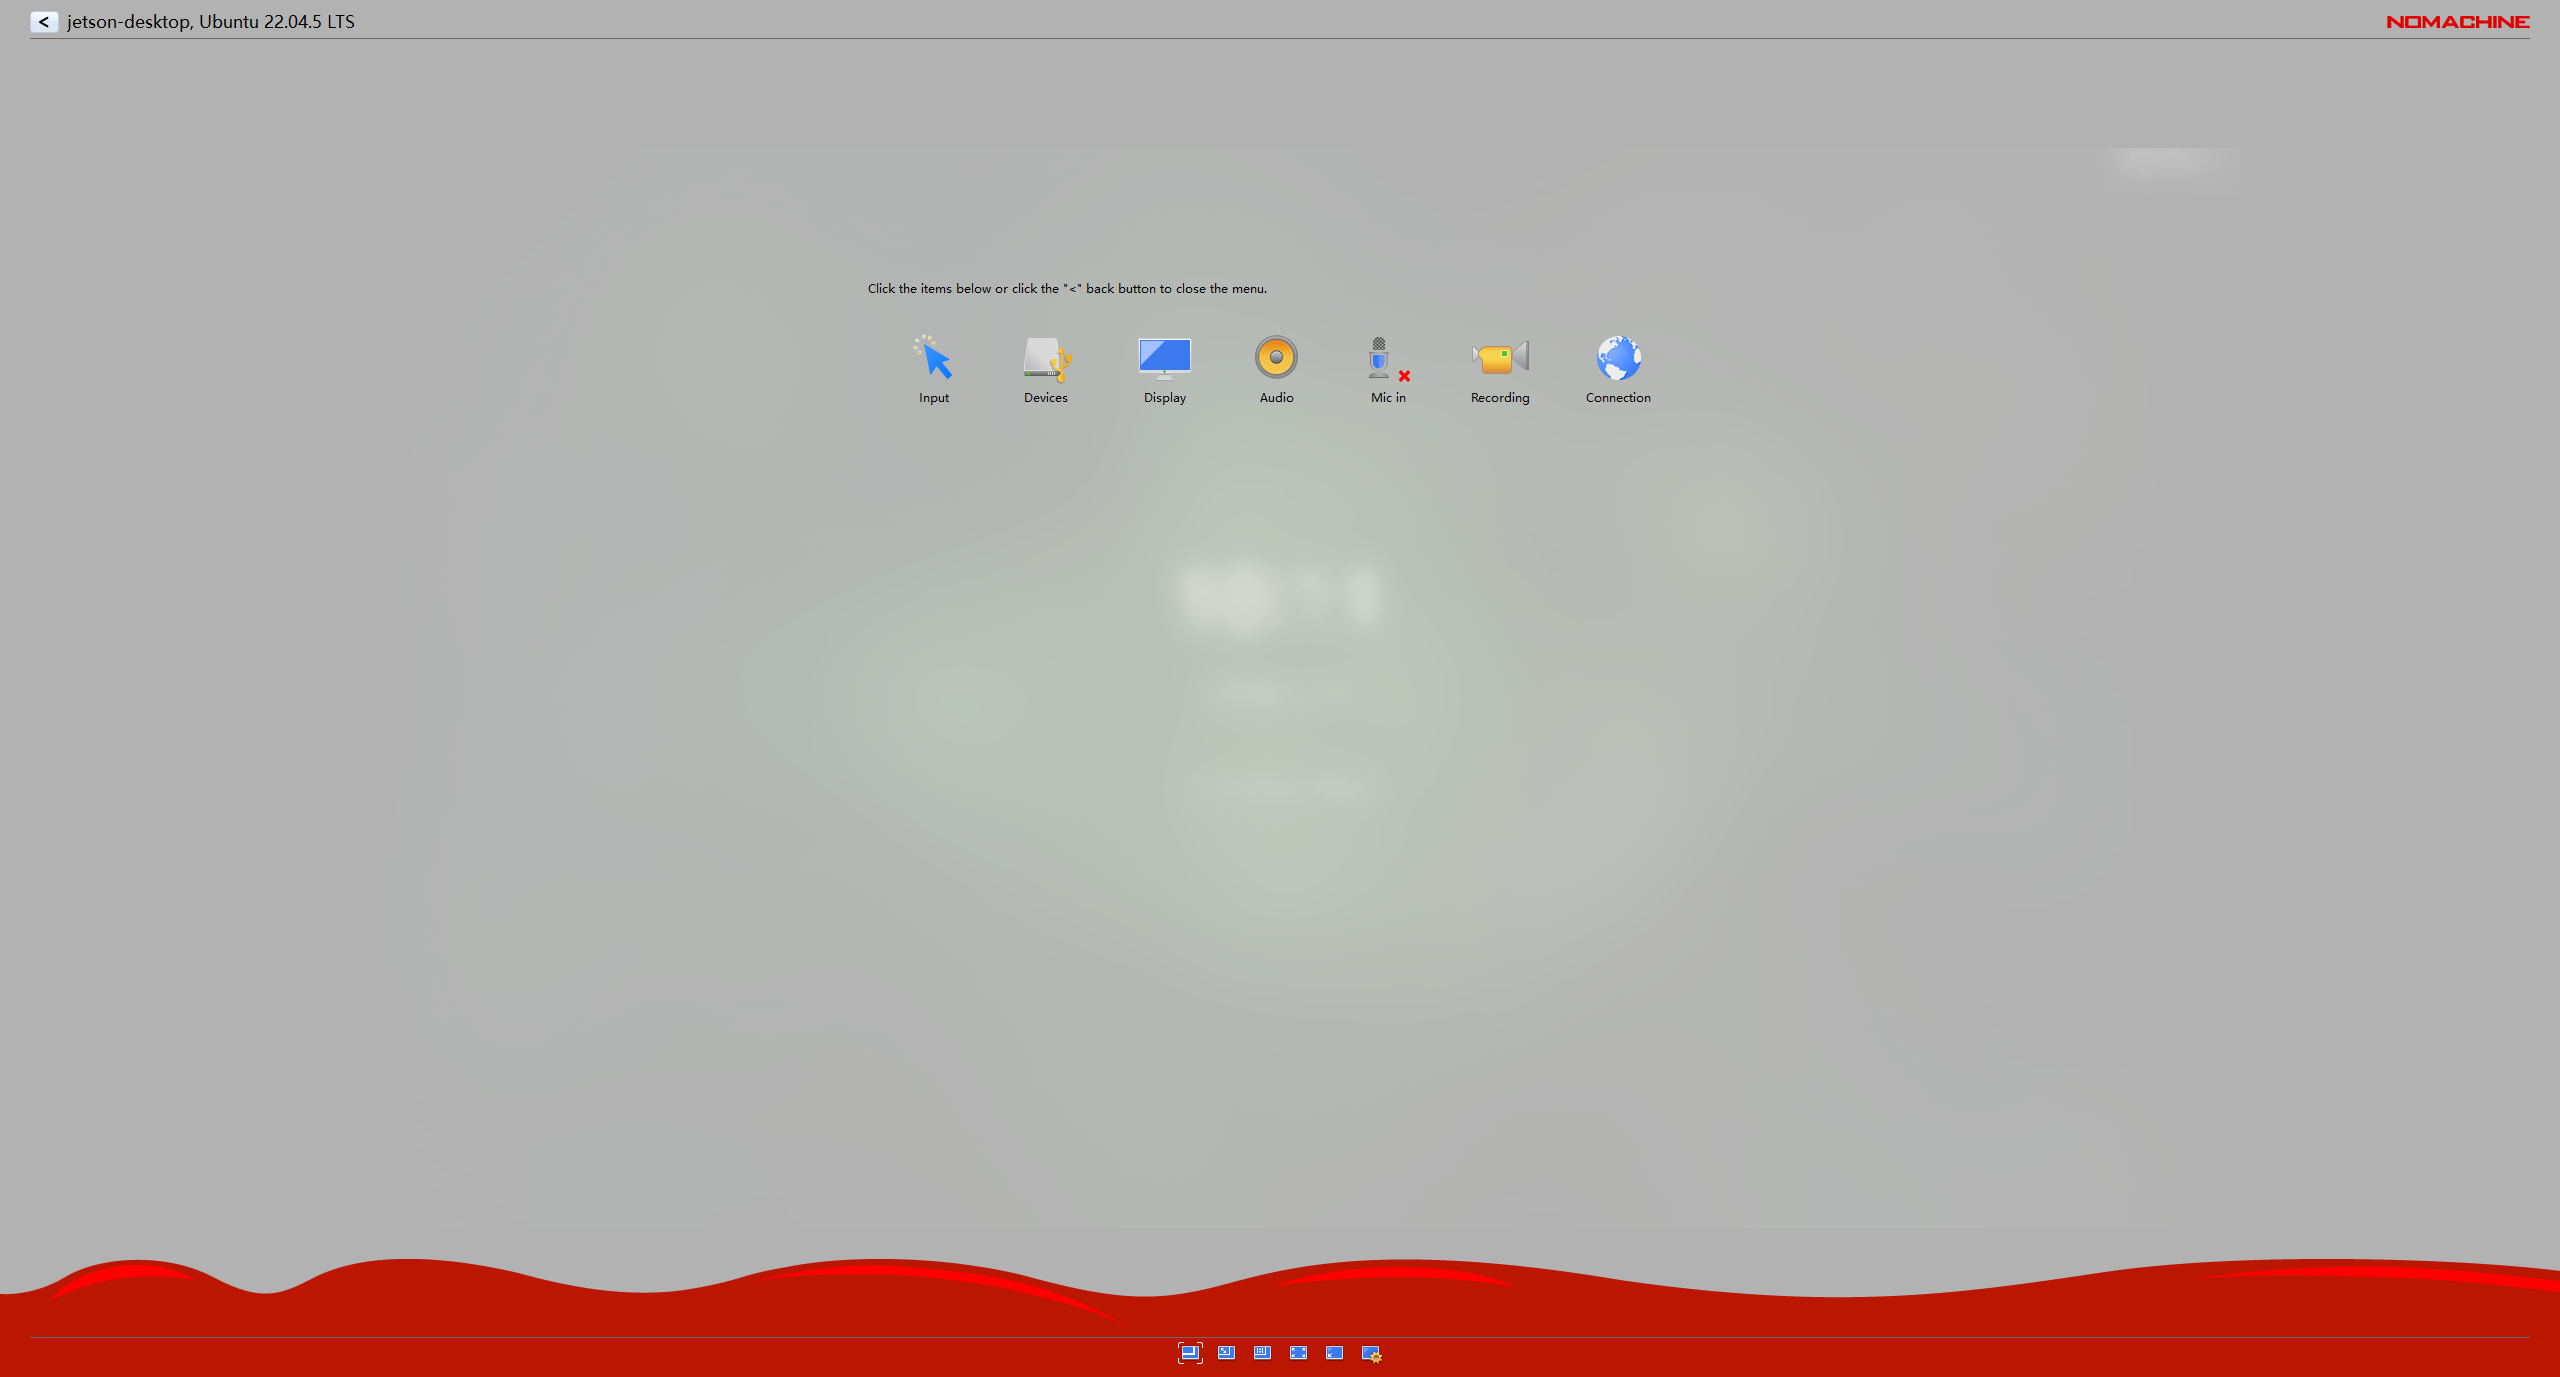
Click the top-right corner of the software's display area to adjust picture quality, frame size, encoding mode, and other options.
4.2 Using VNC
VNC (Virtual Network Computing) is based on the RFB protocol and enables cross-platform remote control by transmitting the pixel data of the screen's frame buffer.
Jetson-side configuration:
Enable the VNC service to start on boot:
cd /usr/lib/systemd/user/graphical-session.target.wants
sudo ln -s ../vino-server.service ./
Configure the VNC service:
gsettings set org.gnome.Vino prompt-enabled false
gsettings set org.gnome.Vino require-encryption false
Set the VNC login password:
# Replace <password> with the password you want to set
gsettings set org.gnome.Vino authentication-methods "['vnc']"
gsettings set org.gnome.Vino vnc-password $(echo -n 'password'|base64)
Reboot the system for the changes to take effect:
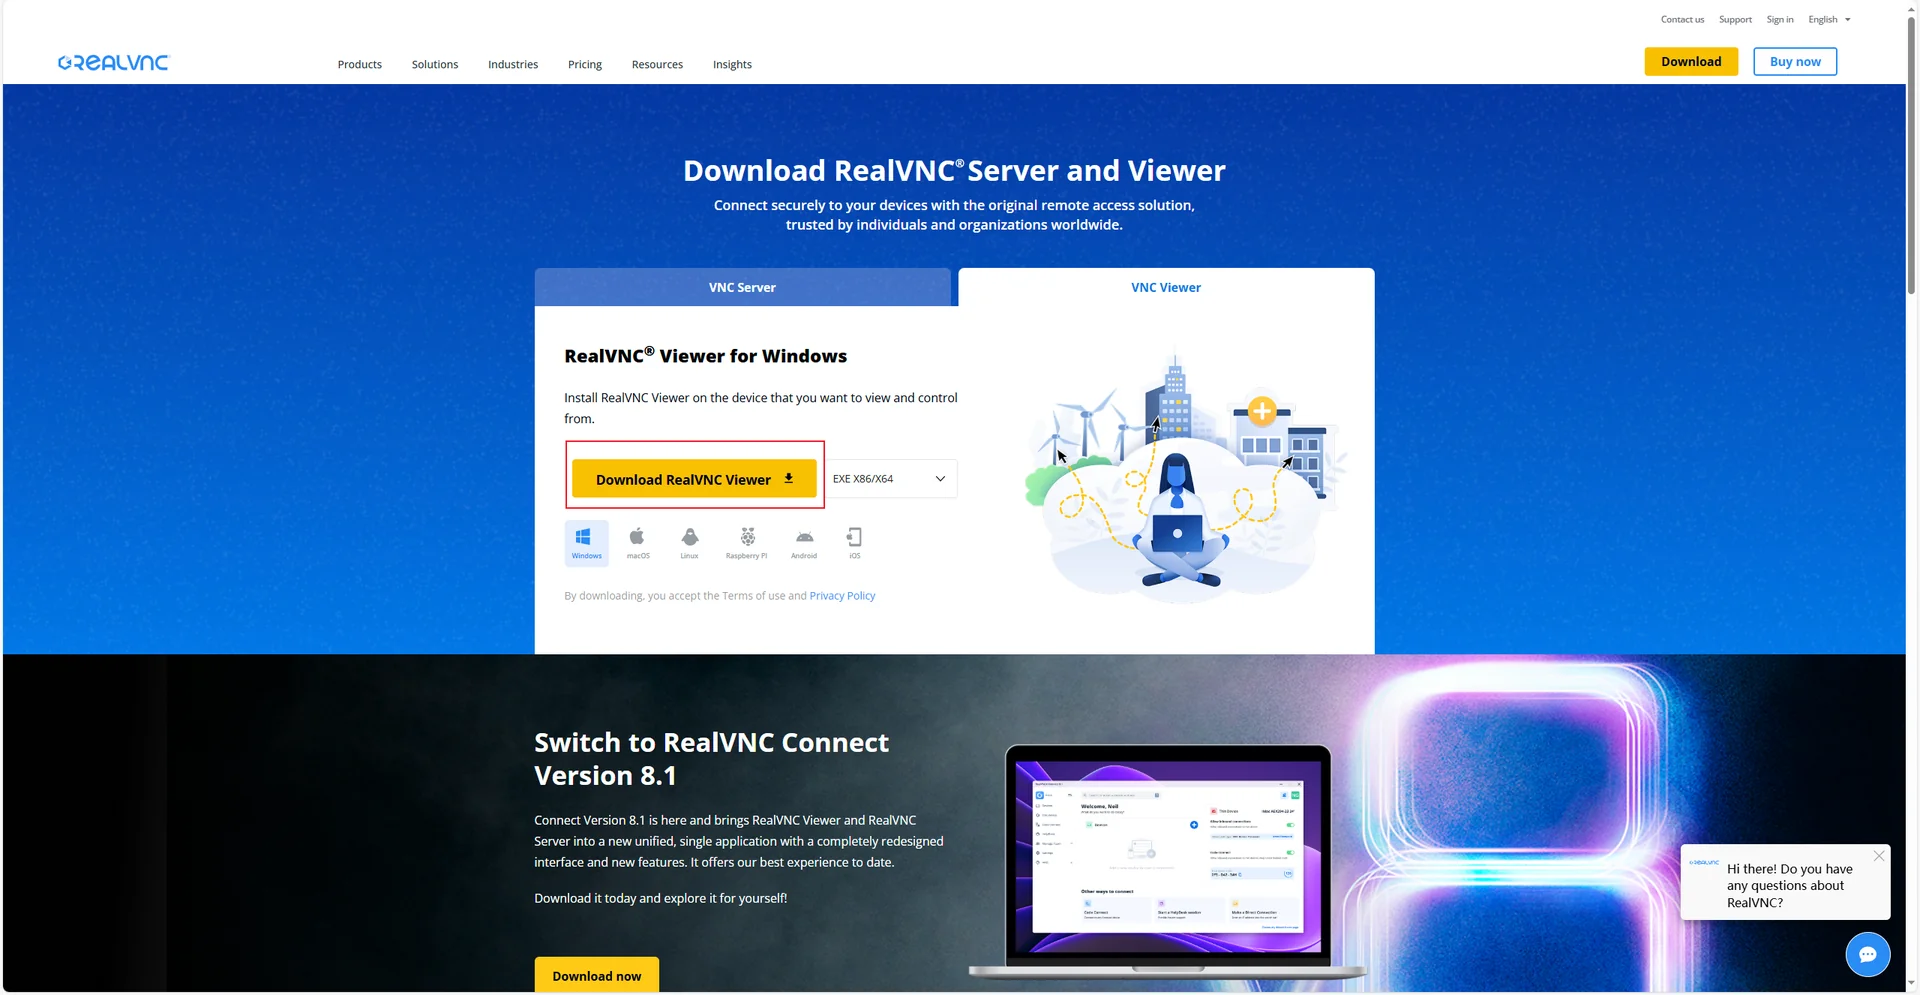
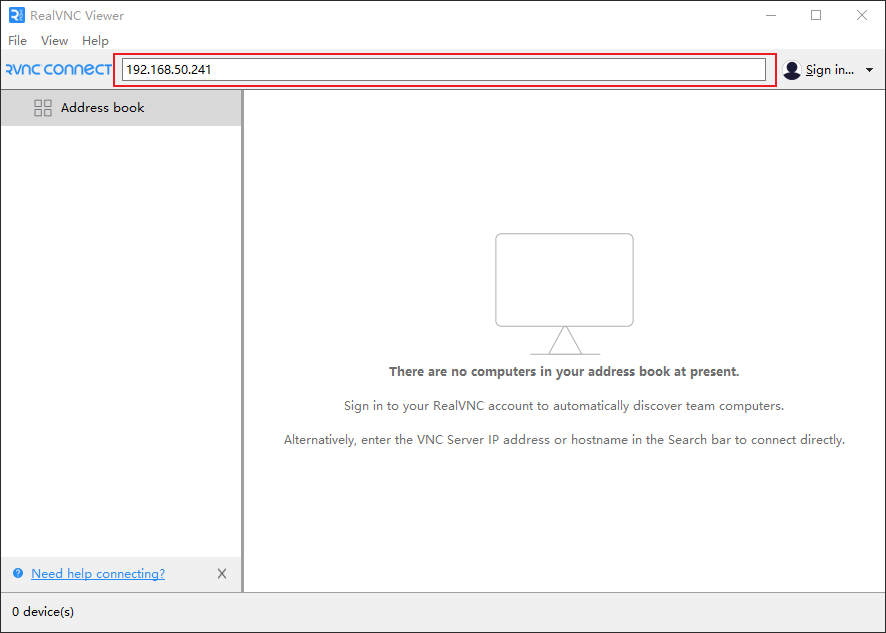
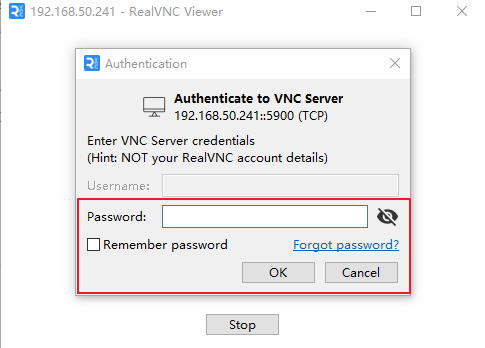
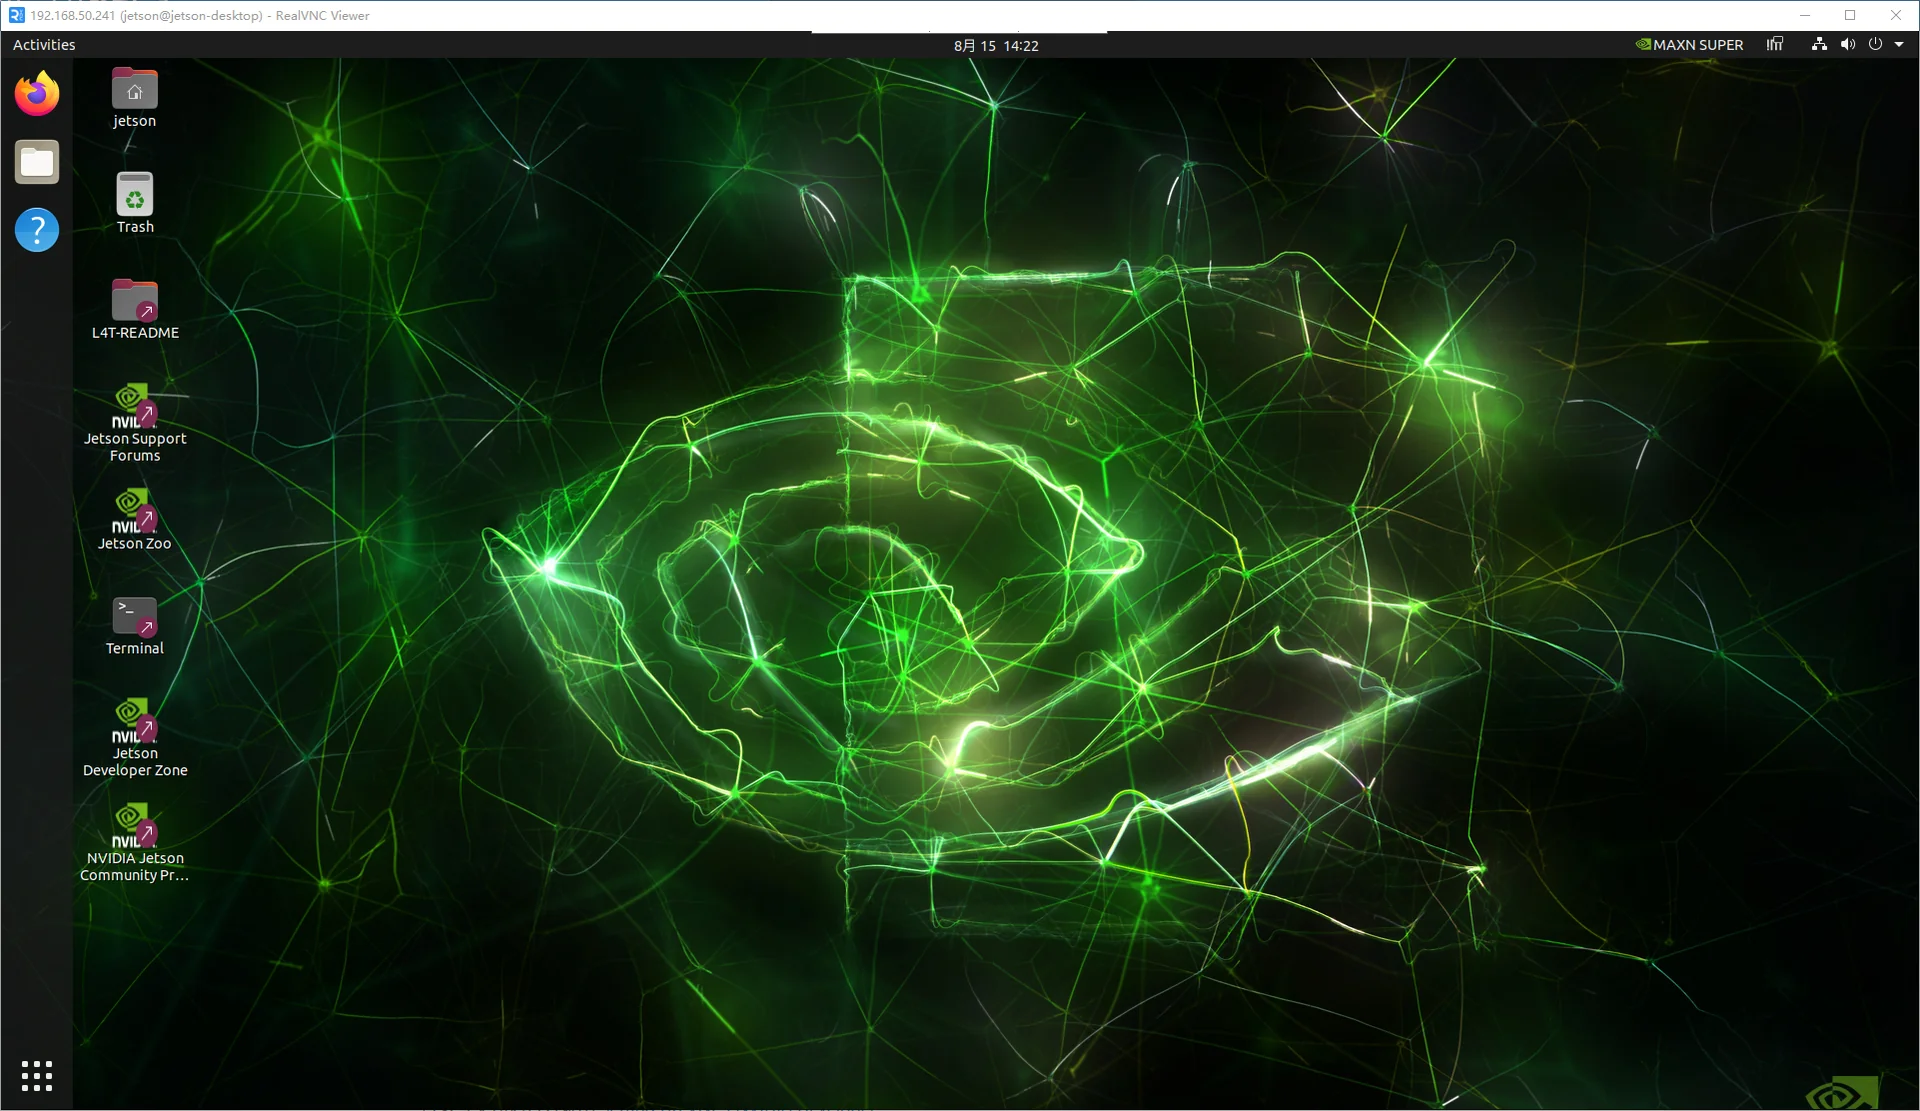
sudo rebootCreate a new connection in the VNC client on the host, enter the Jetson's LAN IP, confirm, then enter the password to connect.
Refer to NVIDIA's official documentation: Setting Up VNC | NVIDIA Developer